Friday, 15 May 2020

Creating History Together Butterfly & Locket Layout - CCDT 1920


'Creating Memories Together Butterfly & Locket Layout'


My finished Layout


Hello Everyone,

Welcome to my next project for Couture Creations using the
 'Steampunk Dreams' Collection.

Here I am playing with more of the interesting elements in this collection - this time I am having a go at a layout. 

I love the negative images just as much as the positive ones from foiling, so I added both images of the butterfly and locket  to this project.  The sentiment stamps are just as impressive.  How appropriate is this one -'Creating History Together' for new parents.

I hope it inspires you to give it a go


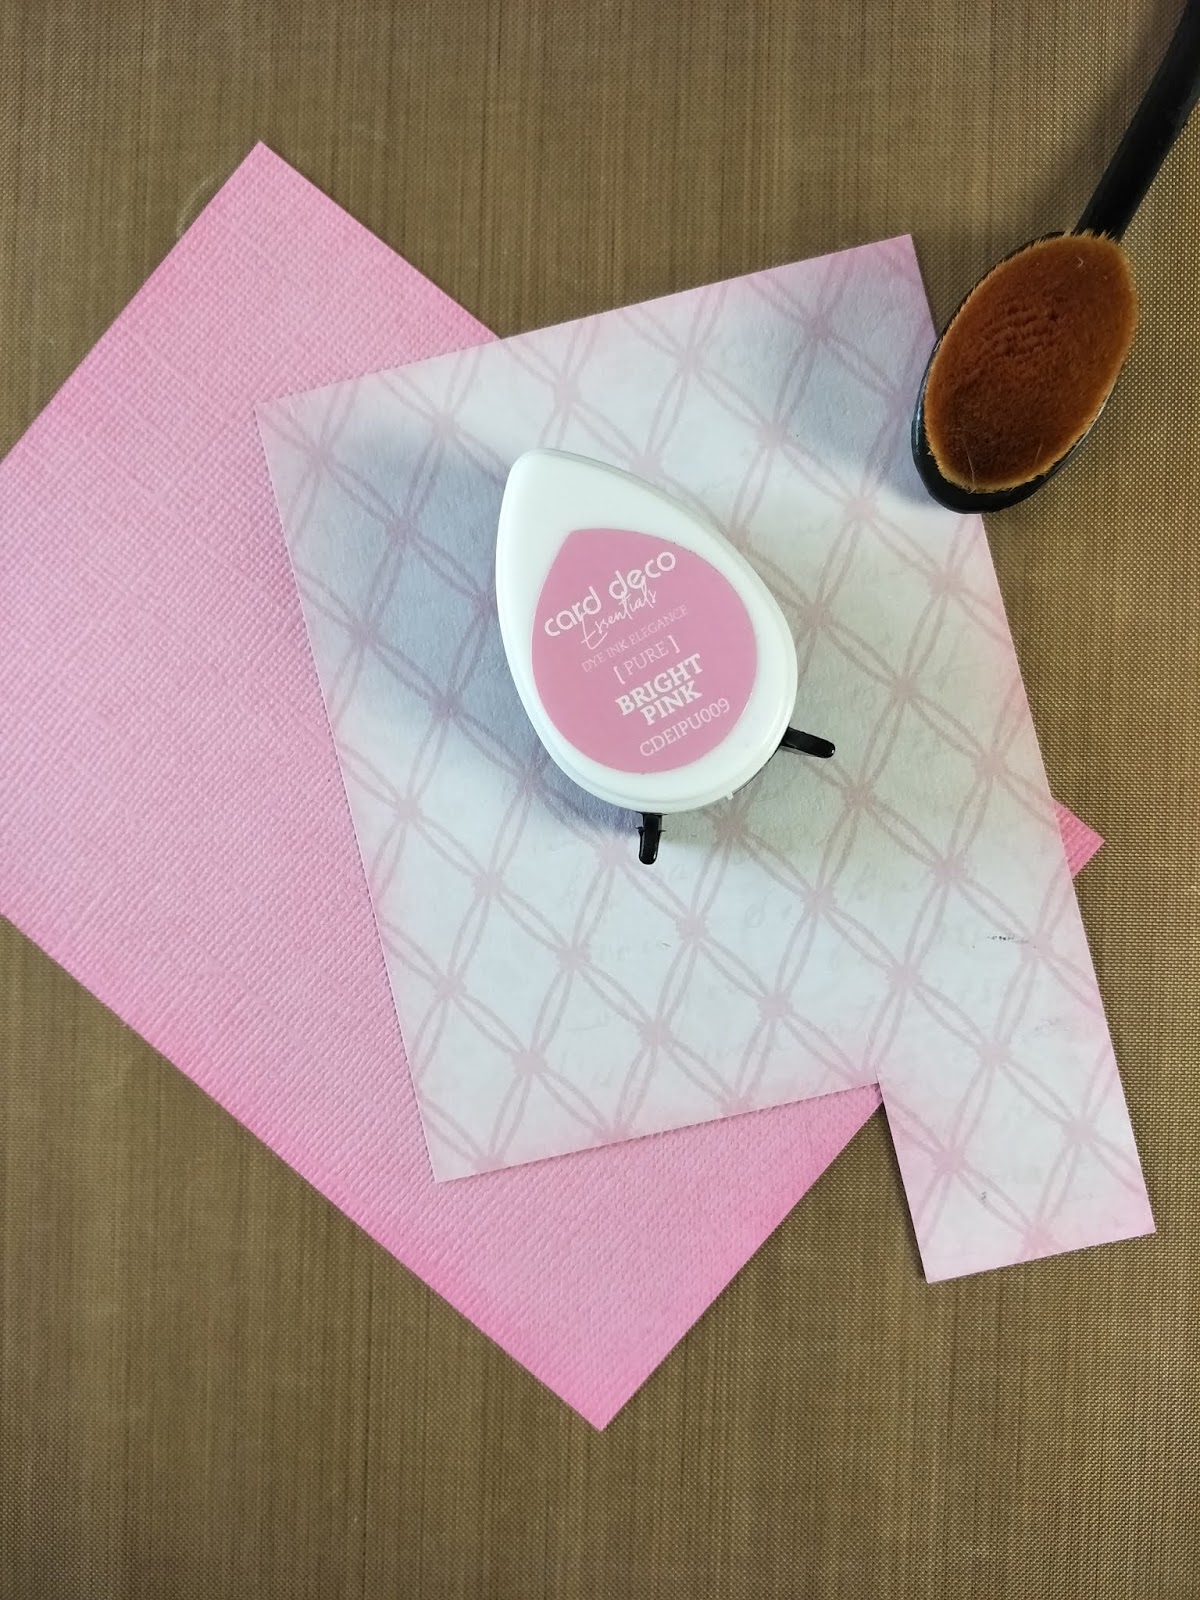
Components used for this project.


All components prepped and ready for assembly.

I cut the designer paper just under the music notes, being careful to keep any overlapping flowers by fussy-cutting around them.  I followed that angle to cut all other papers.  I tried to create a bit of interest in the top left corner to try and balance the colours.  I wanted to add interest to the borders so I off-set them with different width margins.  All the edges of the paper cuts were inked.

All the foiling was done on black card.  I used both the positive and negative images of the butterfly and locket.  I die-cut the key and small heart (that was from the centre of the key), added glue to them, then used the off-cuts of the foil to burnish over the glued area then lifted off leaving a distressed look on them. 

I die-cut the small tags, placed them into the embossing folder and then ran them through the die-cutting machine.  I brushed the sanding block across the surface of the tags until the core paper appeared on the music notes.

I fussy-cut a few flowers from the designer paper, inked the edges and curled the petals to give them more dimension.

Depending on the various pieces, I used cardboard, foam tape and glue to mount them.

Once all the bulk pieces where in place I tucked and glued the muslin into areas that looked a bit bare.  I added some drops of brown alcohol ink to the art stones then glued them down.  I rubbed/blended a bit of white gesso around some of the elements just to soften their edges.

Completed Layout with all components in place.

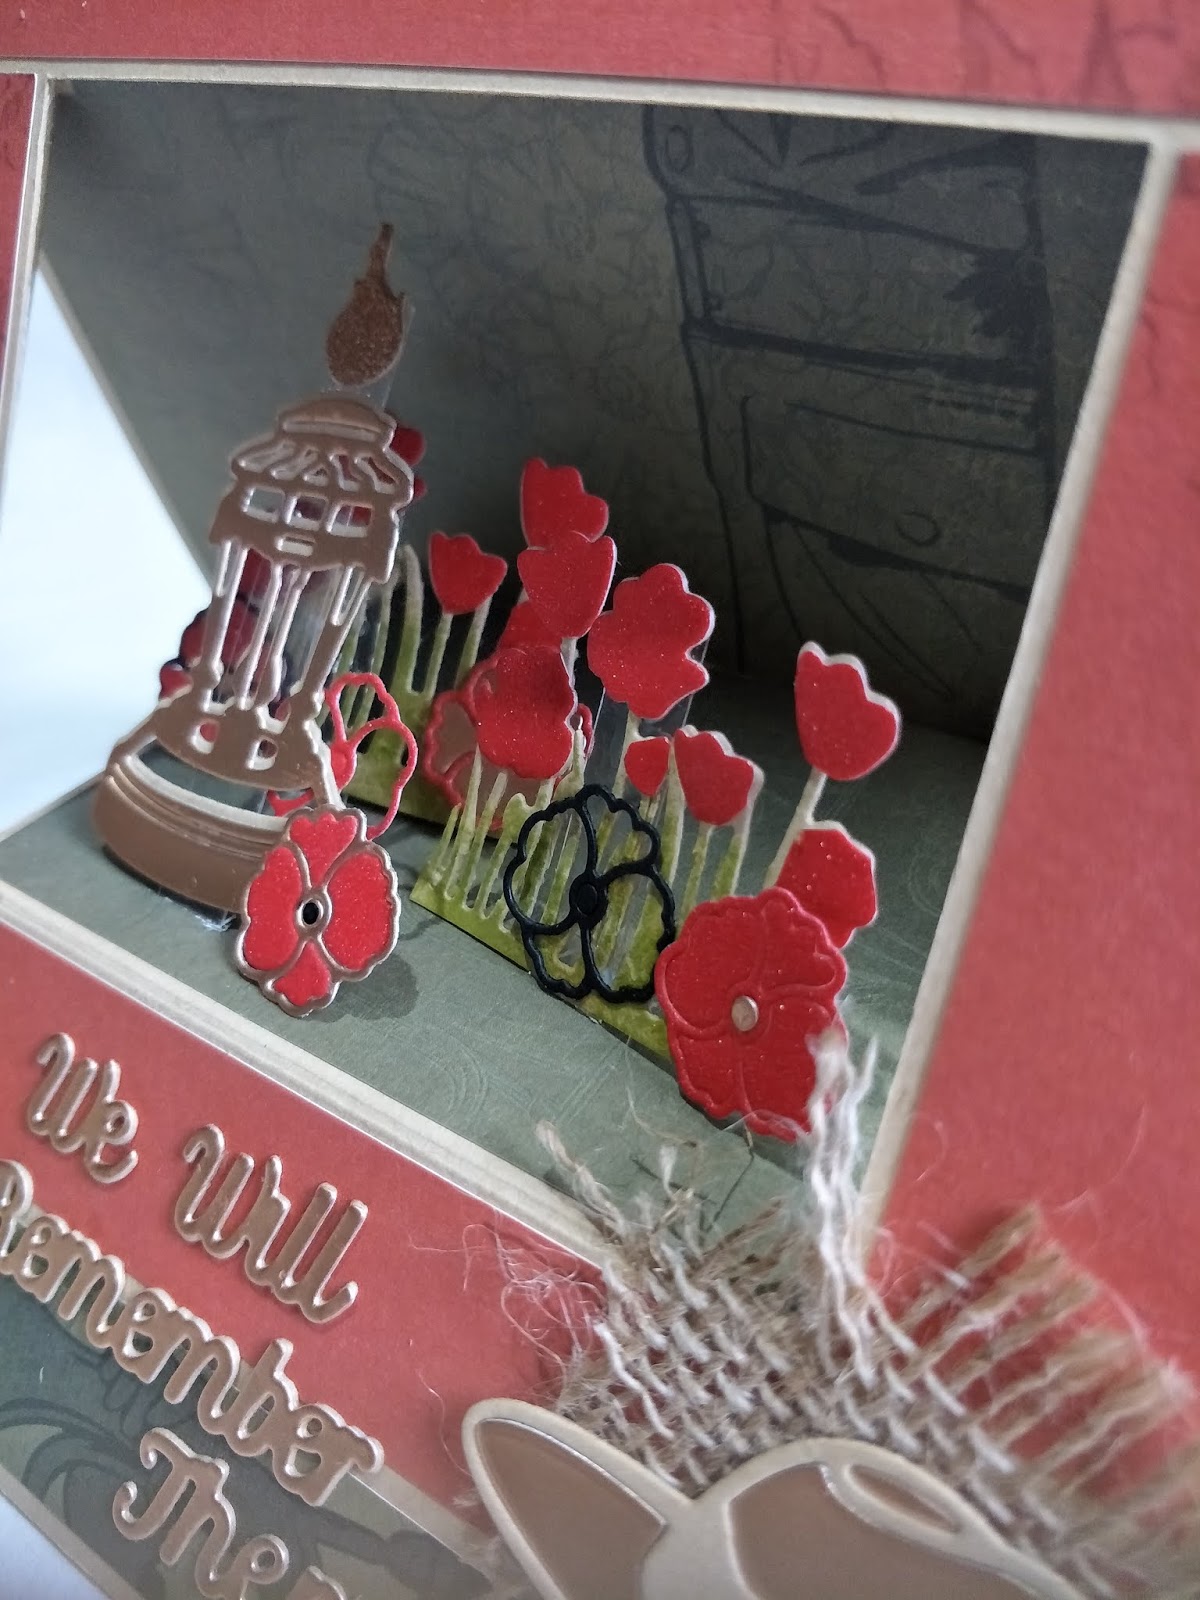
A closer look at the layers


Another view


Couture Creations Products Used:-

CO727707 -   Steampunk Dreams 12x12"  Sheet              
ULT200006 -  12x12" cardstock - Chasm  
CO727713- Die - Steampunk Dreams - Straight Tags - 4pc 
CO727720- Cut & Create Die  - Steampunk Dreams - Stamp of Love
CO727721- Cut & Create Die - Steampunk Dreams - Heart Locket
CO727724 - Cut & Create Die - Steampunk Dreams - Steampunk Butterfly
CDEIPU032 - Dye Ink - Cappuccino
CDEIPU036 - Dye Ink - Dark Grey
CO727310 - Alcohol Ink - Espresso
CO726077-  Heat Activated Foil - Gold Iridescent Square Pattern 
CO724988 - Embossing Powder - Gold Gold - Sparkles
CO723978 - Multi-purpose Heat Tool
J7036-1001PAD - Versamark Ink Pad
CO725662 - Goodbye Static Pad
F1005249- 12 inch Trimmer
CO726520- GoPower & Emboss Machine (Die-Cutting Machine)
CO723950- Embossing Folder - A2 Scattered Notes
ULT157316- Sanding Block


Other Products:-     Black card, Foam tape, Double-sided tape, Glue, Distressing Tool, Heat Resistant Acetate, Muslin/Cheesecloth,  Art Stones and Gesso.


To find a store near you that stock these Couture Creations products, click on the following link:-

My Blog Link is:  

cardcraftkaylee.blogspot.com


Thanks for joining me...


Tuesday, 5 May 2020

Anzac Day - Lest We Forget Layout - CCDT 1720


'Anzac Day - Lest We Forget'
Layout


Hello Everyone,

Welcome to my next project for Couture Creations using the
 'Lest We Forget' Collection.


In World War I - Anzac day, 25th April 1915 is the day that the ANZAC's troops landed at Anzac Cove, Gallipoli.  In a tragic time, the Australian and New Zealand character of bravery, ingenuity, endurance and mateship was immortalized.  The poppies were the only flowers that grew on the barren battlefields after the war was over and today it represents the immeasurable sacrifice made by comrades who died in this war and later conflicts.

Maybe you might have someone close to you that you would like to honour their courage and do your own layout for them.

I hope it inspires you to give it a go.


My finished Layout

The elements used for this project
All the elements prepped ready for assembly.
Each paper piece has the edges blended with a combination of all the dye inks.  The poppy stamps were embossed with the red tones embossing powders (3 with one colour, 2 with the other colour).  I added red ink to the centres of these flowers.  The Eternal Flame, the Memorial and the 'Lest We Forget' stamps were embossed with the Kettle Copper Bronze powder.  Moss Stone embossing powder was used on the Anzac Day stamp.  The Cross, Standing Poppy and small poppy were cut from the Bronze Metallic Card and Red Glitter card.  The paper pieces were not a planned measurement, it was just what was left for another project.  The circles were cut from the Negative Nesting Frames.


A closer view of the layers.  I used cardboard backing for the larger matting pieces and foam tape for the smaller pieces to raise them.  Some piece were just glued to the adjacent piece.


Anzac Day - Lest We Forget Layout completed


Couture Creations Products Used:-

CO727682- Die - Standing Poppies set - 2pc
CO727687- Die - The Cross  
CO727694- Stamp - Poppy Border
CO727695 - Stamp - Growing Together
CO727696 - Stamp - Eternal Flame
CO727697 - Stamp - Memorial
CO727699 - Stamp - Lest We Forget
CO727700 - Stamp - Anzac Day
CDEIPU006 - Dye Ink - Christmas Red
CDEIPU014 - Dye Ink - Eggplant
CDEIPU024 - Dye Ink - Olive Green
CDEIPU026 - Dye Ink - Pine Green
CO724975 - Embossing Powder - Rose Gold - Metallic Finish
CO724979 - Embossing Powder - Carnelian - Pearl Gems
CO724972 - Embossing Powder - Kettle Copper Bronze - Classic Metallics
CO725005 - Embossing Powder - Moss Stone - Pastels
CO723978 - Multi-purpose Heat Tool
J7036-1001PAD - Versamark Ink Pad
CO725662 - Goodbye Static Pad
F1005249- 12 inch Trimmer
CO726520- GoPower & Emboss Machine (Die-Cutting Machine)
CO725038- Scissors
CO726809- Precision Craft Knife


Other Products:-     Photo, Foam tape, Cardboard backing, Double-sided tape, Glue.


To find a store near you that stock these Couture Creations products, click on the following link:-

My Blog Link is:  cardcraftkaylee.blogspot.com

Thanks for joining me...


Saturday, 11 April 2020

Heart full of Roses Cards CC DT - 1520


Heart full of Roses Cards

Hello Everyone,
Welcome to my next project for Couture Creations using the
'My Secret Love' Collection.

I created 2 cards using 2 contrasting colours.  I wanted to use the lovely Rose Stamp,  Glitter Card and Embossing Powders.  It only felt right to incorporate the Heart dies as well for a Love card.

I hope it inspires you to give it a go.


My finished card with
Couture Creations'  MY SECRET LOVE Collection


I will start with the  'Gold Rose' Card.  These are the Couture Creations components that I used.


I stamped the Rose stamp with Black solvent ink onto the Gold glitter card.  I then started to colour the leaves with 3 colours of green alcohol inks, allowing time for drying before adding the next colour.  By using the 3 colours I was hoping to achieve a more realistic look. 


Once the white card in the embossing folder had been run through the die-cutting machine, I blended the Salmon dye ink around the edges.  With the die-cut leaves I started painting with my first colour of green alcohol ink - Pistachio. 


All the components prepped and ready for assembly.


The remaining off-cut of glitter card that was left after cutting the roses out, I used as a mat - I didn't want too much glitter, just a hint.  Behind the Roses and small Heart label I added foam tape and behind the embossed mat I added a cardboard piece to give dimension.


I off-set the mats to create a bit more interest.  The finish 'Gold Rose' card with the stamp inked only.  Afterwards I added heat embossed powder over the top of the rose stamp as I felt it needed more definition (see top photo).


I felt I needed to do a lighter toned card so I created the 'Pink Rose' card.  These are the Couture Creations components that I used.
Instead of using the embossing folder, I used the patterned paper which had the same design.


All the components prepped and ready for assembly.


All assembled.  With this card I heat embossed the rose stamp and loved the look.  The embossing raised the edges of the petals and looked more 3D.  You just have to remember to attach the silver ribbon behind the pink mat before adhering all to the card front.


Couture Creations Products Used:-


CO726882- Negative Heart Frames Nesting Dies
CO725769- Embossing Folder - C'est La Vie - Tied Lines
CO724989- Heat Embossing - Sparkles -Copper/Copper                


Other Products Used:
Ivory Card, Versamark, Black Solvent Ink, Glue, Paint brush, Black ribbon bow, Silver ribbon tie.


To find a store near you that stock these Couture Creations products, click on the following link:-

Thanks for joining me...


Thursday, 9 April 2020

We Will Remember Them Stepper Card - CCDT 1620


'We Will Remember Them'
Scene Stepper Card


Hello Everyone,

Welcome to my next project for Couture Creations using the 'Lest We Forget' Collection.

This collection has some wonderful dies and it is only fitting that they should be on the stage for all to see.

Anzac day is a day to remember how our mighty men and women sacrificed their lives to give us all a better way of life.  


I hope it inspires you to give it a go.


My finished Scene Stepper card

I started by making the stepper card.  This is the template for the card.  I trimmed an A4 card back to 8" x 11.5" to make it easier to work out the measurements.


Views of the base card


Elements I used from Couture Creations on this project.

With the row of poppies die, I cut extra flowers from red glitter card and glued them on top of the kraft card die-cuts then randomly stamped the green ink around the stem area.  I used both red and black glitter card and brass metallic card for the small poppies. I created a mix of different small poppies by interchanging the centres.  The large poppy was cut from red glitter card and I added the outline of a small  brass card poppy in the centre. 

All the elements prepped ready for assembly.

I cut 3 slots at different angles into the stage area for the acetate strips that hold the poppies and cauldron.


A closer look at how I attached the acetate strips to underneath the stage.  Once I had the elements in place, I cut the underneath part in two, folded them in opposite directions and added tape across these legs to secure them to the stage floor.

I off-set the 2 'Eternal Flame' die-cuts, glued them together to give a more dimensional effect, then attached them to the acetate strip.  Make sure you add the glitter card flame to the strip as well.


A closer look at the elements that have been slotted into the stage with acetate strips

The card folded flat

A sideways shot


Couture Creations Products Used:-


CO727167-  A4 Bright Red Glitter Card - 250gsm 
CO727172- A4 Copper Glitter card - 250gsm
CO725408 - A4 Matte Bronze Mirror Foil Board
CO727681- Die - Layered Poppy set - 2pc  
CO727683- Die - Poppy Border 
CO727385- Die - Eternal Flame set - 2pc
CO727686 - Die - Slouch Hat set - 2pc
CO727688 - Die - We Will Remember Them
CO726878- Die - Frames Nesting Negative Circles
CO726520- GoPower & Emboss Machine (Die-Cutting Machine)
CO725038- Scissors
CO726809- Precision Craft Knife


Other Products Used:
A4 Kraft Card, Acetate strips, Burlap cloth, and Glue.


I have included a short video showing the card at all angles and folding it flat.


To find a store near you that stock these Couture Creations products, click on the following link:-

My Blog Link is:  cardcraftkaylee.blogspot.com

Thanks for joining me...