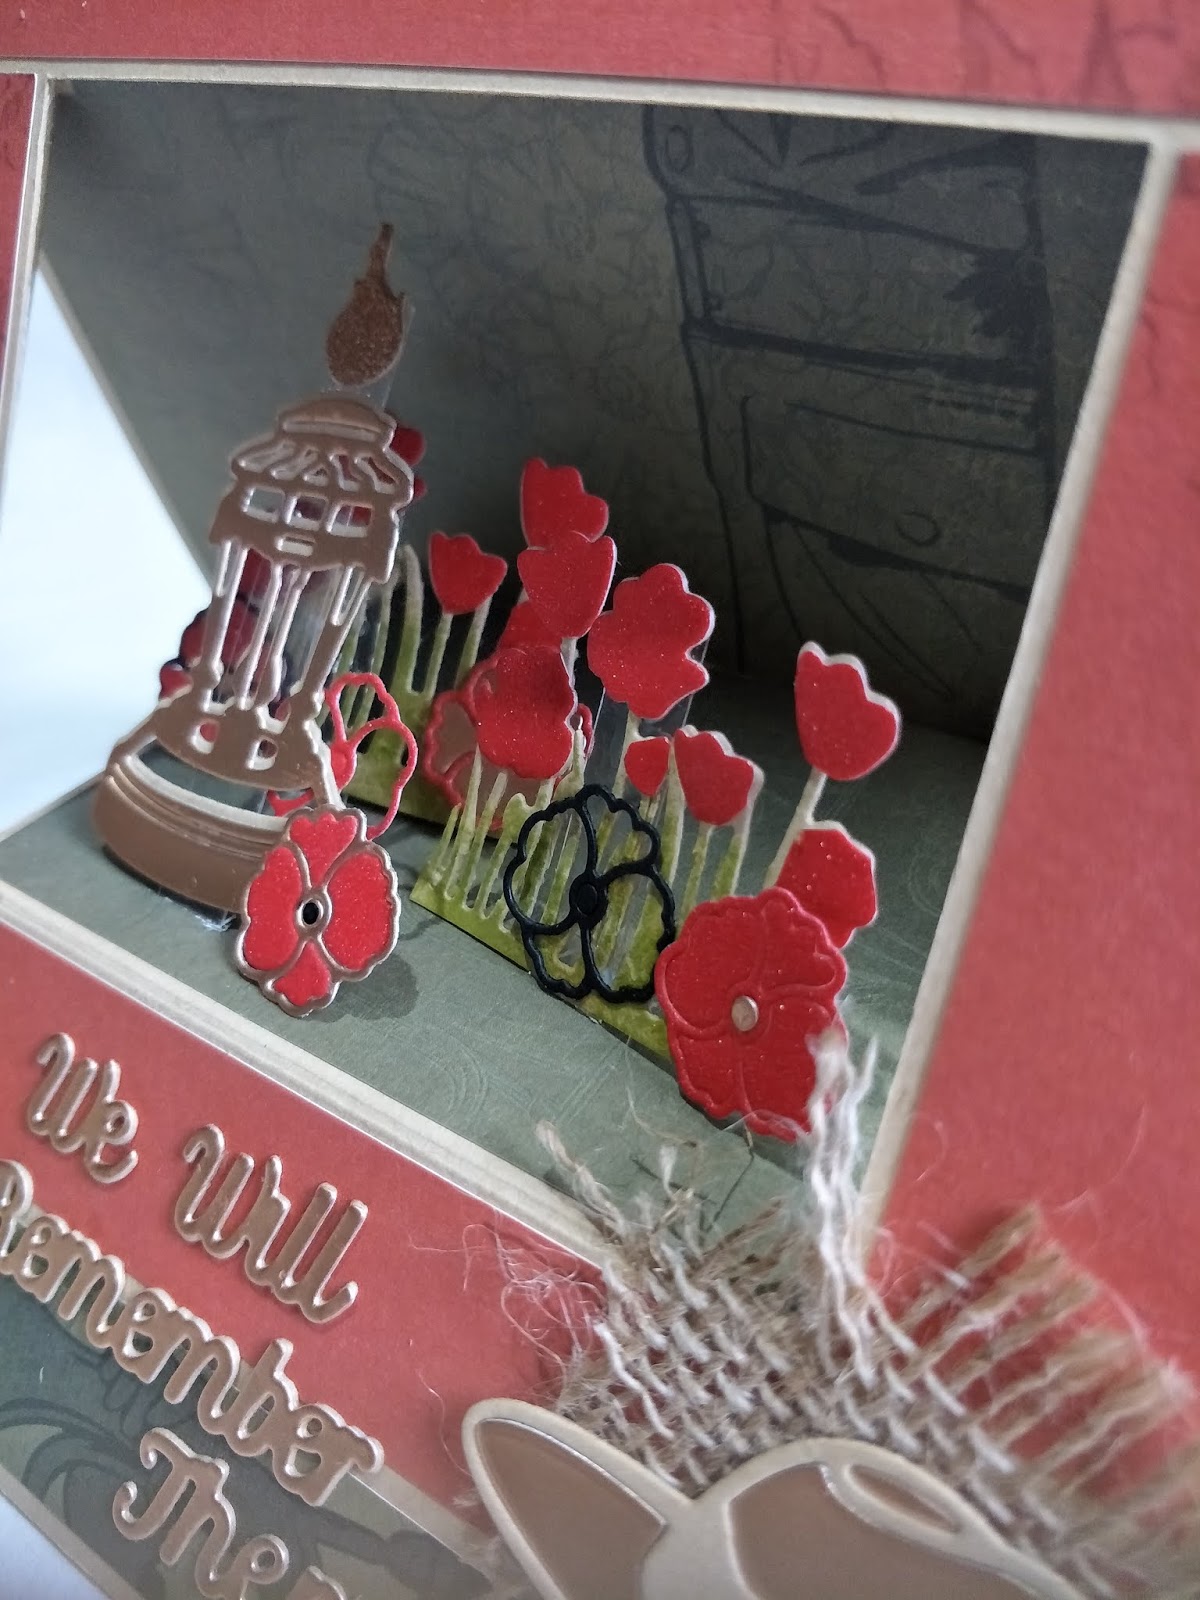
Hello Everyone,
Welcome to my next project for Couture Creations using the
'My Secret Love' Collection.
I created a photo folio with a pop-up page.
I was working on a 'Paper Piecing' technique - where you place your photos where you want them then fill in all the remaining areas with tiny cut strips of patterned paper in any arrangement you like, leaving a small margin between each piece. I just couldn't help myself, I had to add a pop-up element as well.
I hope it inspires you to give it a go.
 |
| 'Falling In Love - Folio' Project |
 |
| Removing the heart lock and lifting up the top flap |
 |
| Folding down the front acetate flap and showing a heart matt in the oval insertion point |
 |
| Folding down the Oval page to reveal 2 pages ready for more photos |
 |
| Opening the top page to reveal 2 more pages for photos. I left these pages free so any size photos can go where ever you want to place them. |
 |
| Once these 2 pages open out you see the photo layout with each measurement. Once you place your photos down, you begin the process of 'Paper Piecing' - which is just trimming down paper pieces of different sizes and different papers to create a display. |
 |
| Opening the bottom flap exposes you to a pop-up with side slots. I have only partially die-cut a small butterfly on the matt on the slot at the top right, just to show you that you could incorporate an accompanying element to tie in your theme. |
 |
| This is the A4 template I used for the mat sizes - I copied this twice for the layout. |
 |
These are the components that I used to create the heart lock - 2 die-cut heart frames (I used the 2 larger frames together from the Negative Hearts frames to get the outline hearts) I embossed the sentiment on acetate with white embossing powder then cut the acetate just a bit smaller than the heart shape, then glued it between the 2 heart frames. I put glue on the leaf die-cut only where it touched the frame, not onto the acetate as I didn't want any glue showing through from the other side.
|
 |
| A closer look at the heart - with the heat embossed sentiment, gemstones and glitter card leaf. I did put some glitter pen over the embossed inner heart, but it doesn't show up in the photo. |
 |
I used 6 sheets of A4 Ivory card for the pages. The pages were:-
A = Top flap - 5 1/2" x 4 1/2" - this included 2 x 1/2" folds
B = Top Left page - 11" x 8 1/4" - this included a 1/8" fold on the bottom right half (I thought about it later and I probably would have added a hinge instead of the 1/8" fold as I think that would have been stronger)
C = Top Right page - 11 5/8" x 8" this included a 1/2" and a 1/8" fold on the left side
D = Bottom Pop-up page - 11 1/8" x 8 1/4" - this included a 1/8" fold down the centre and 2 x 1/8" fold on the top left half
E = Front Bottom Flap - 2 pieces 5 1/2" x 7" this included a 1/4" then 1/2" fold at the bottom.
On each of the hinged folds I cut an angled corner so the joins looked better once glued. |
 |
| This was my pop-up template. It measured 9" x 5 3/8". The outside frame was 1/2", the pages were 1" from that frame and from the centre fold. You can see where I made the cuts and the folds from the top picture. |
 |
| The pop-up cut and folded |
 |
| This is a look at all the folded parts |
 |
I folded the pop-up then positioned it so it was centred and was contained within the page when it was closed.
|
 |
To get a perfect alignment of the slots, put both paper pieces together in opposite directions and die-cut them together. I die-cut 4 slots from the glitter card and glued them over the paper pieces slots.
|
 |
| To make it easy to glue the patterned paper, I glued down half of the Pop-up - added the paper pieces. I added glue only to the frame part,then folded the pages together to get a perfect placement of the pop-up. I then glued the other half of the paper pieces to that side. |
 |
| A better view of the pop-up with all the paper pieces in place |
 |
| To create an insertion point, I used my craft knife and cut around the flowers. I then slipped a piece of scrap paper between this cut and traced around the cut line. I used this guide to cut the same shape with a small margin from the Precious and Cantalaupe cardstock. |
 |
| I inked the edges of both of these cardstocks with Salmon ink. I glued the Precious behind the flowers and the Cantalaupe onto the back cut - this creates a pocket for a photo. I added glitter pen to the centres of the flowers and around the edge of the precious cut. |
 |
A Sideways view to show the heart locking element
 |
| Another option of adding a second heart lock |
|
Couture Creations Products Used:-
ULT200077- Cardstock Precious- 250gsm
ULT200056- Cardstock Cantelaupe 250gsm
ULT200028- Cardstock Peridot 250gsm
CO724317A-A4 Acetate Sheet
6 Sheets of A4 Ivory Card,Versamark, Glimmer pen and Glue.
I have included a video link of how this folio folds out.
Youtube -
https://youtu.be/BDjZ8BF7oAg
To find a store near you that stock these Couture Creations products, click on the following link:-
Thanks for joining me...