Tuesday 23 November 2021

Gift Tag Slider Christmas Card

Merry Christmas Gift Tag Slider Card


Welcome again! Still loving the 'glitter'.  This time using the Christmas Joy Die cut glitter framed shapes.  These elements are from Couture Creation's new collection 'Deck the Halls'.  

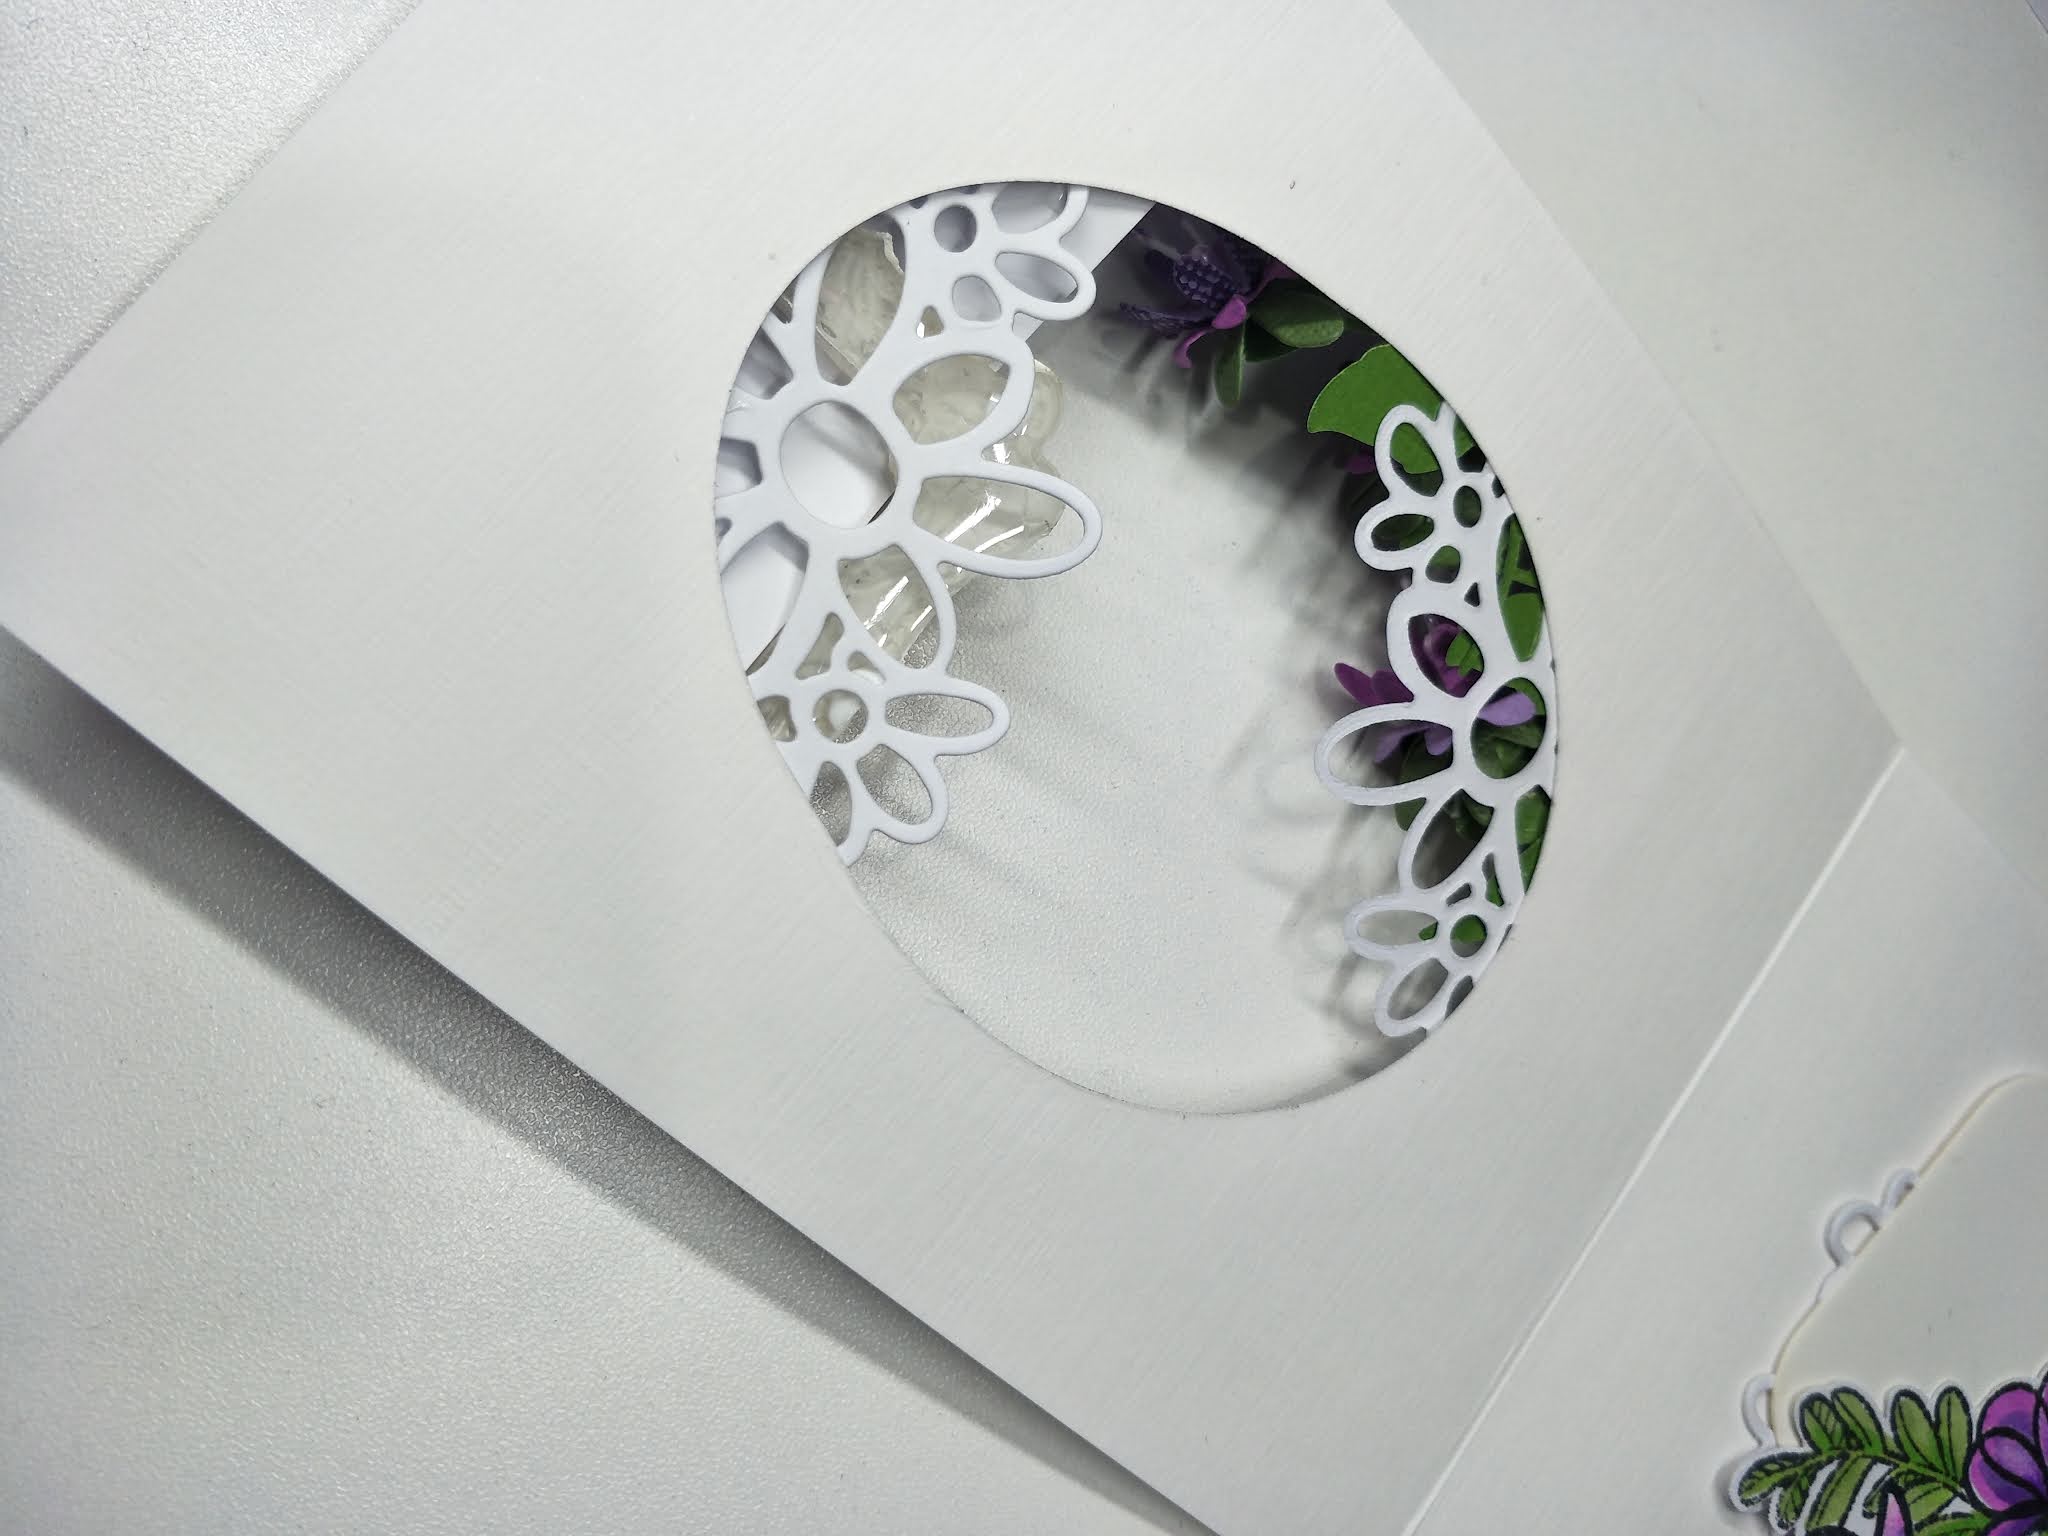
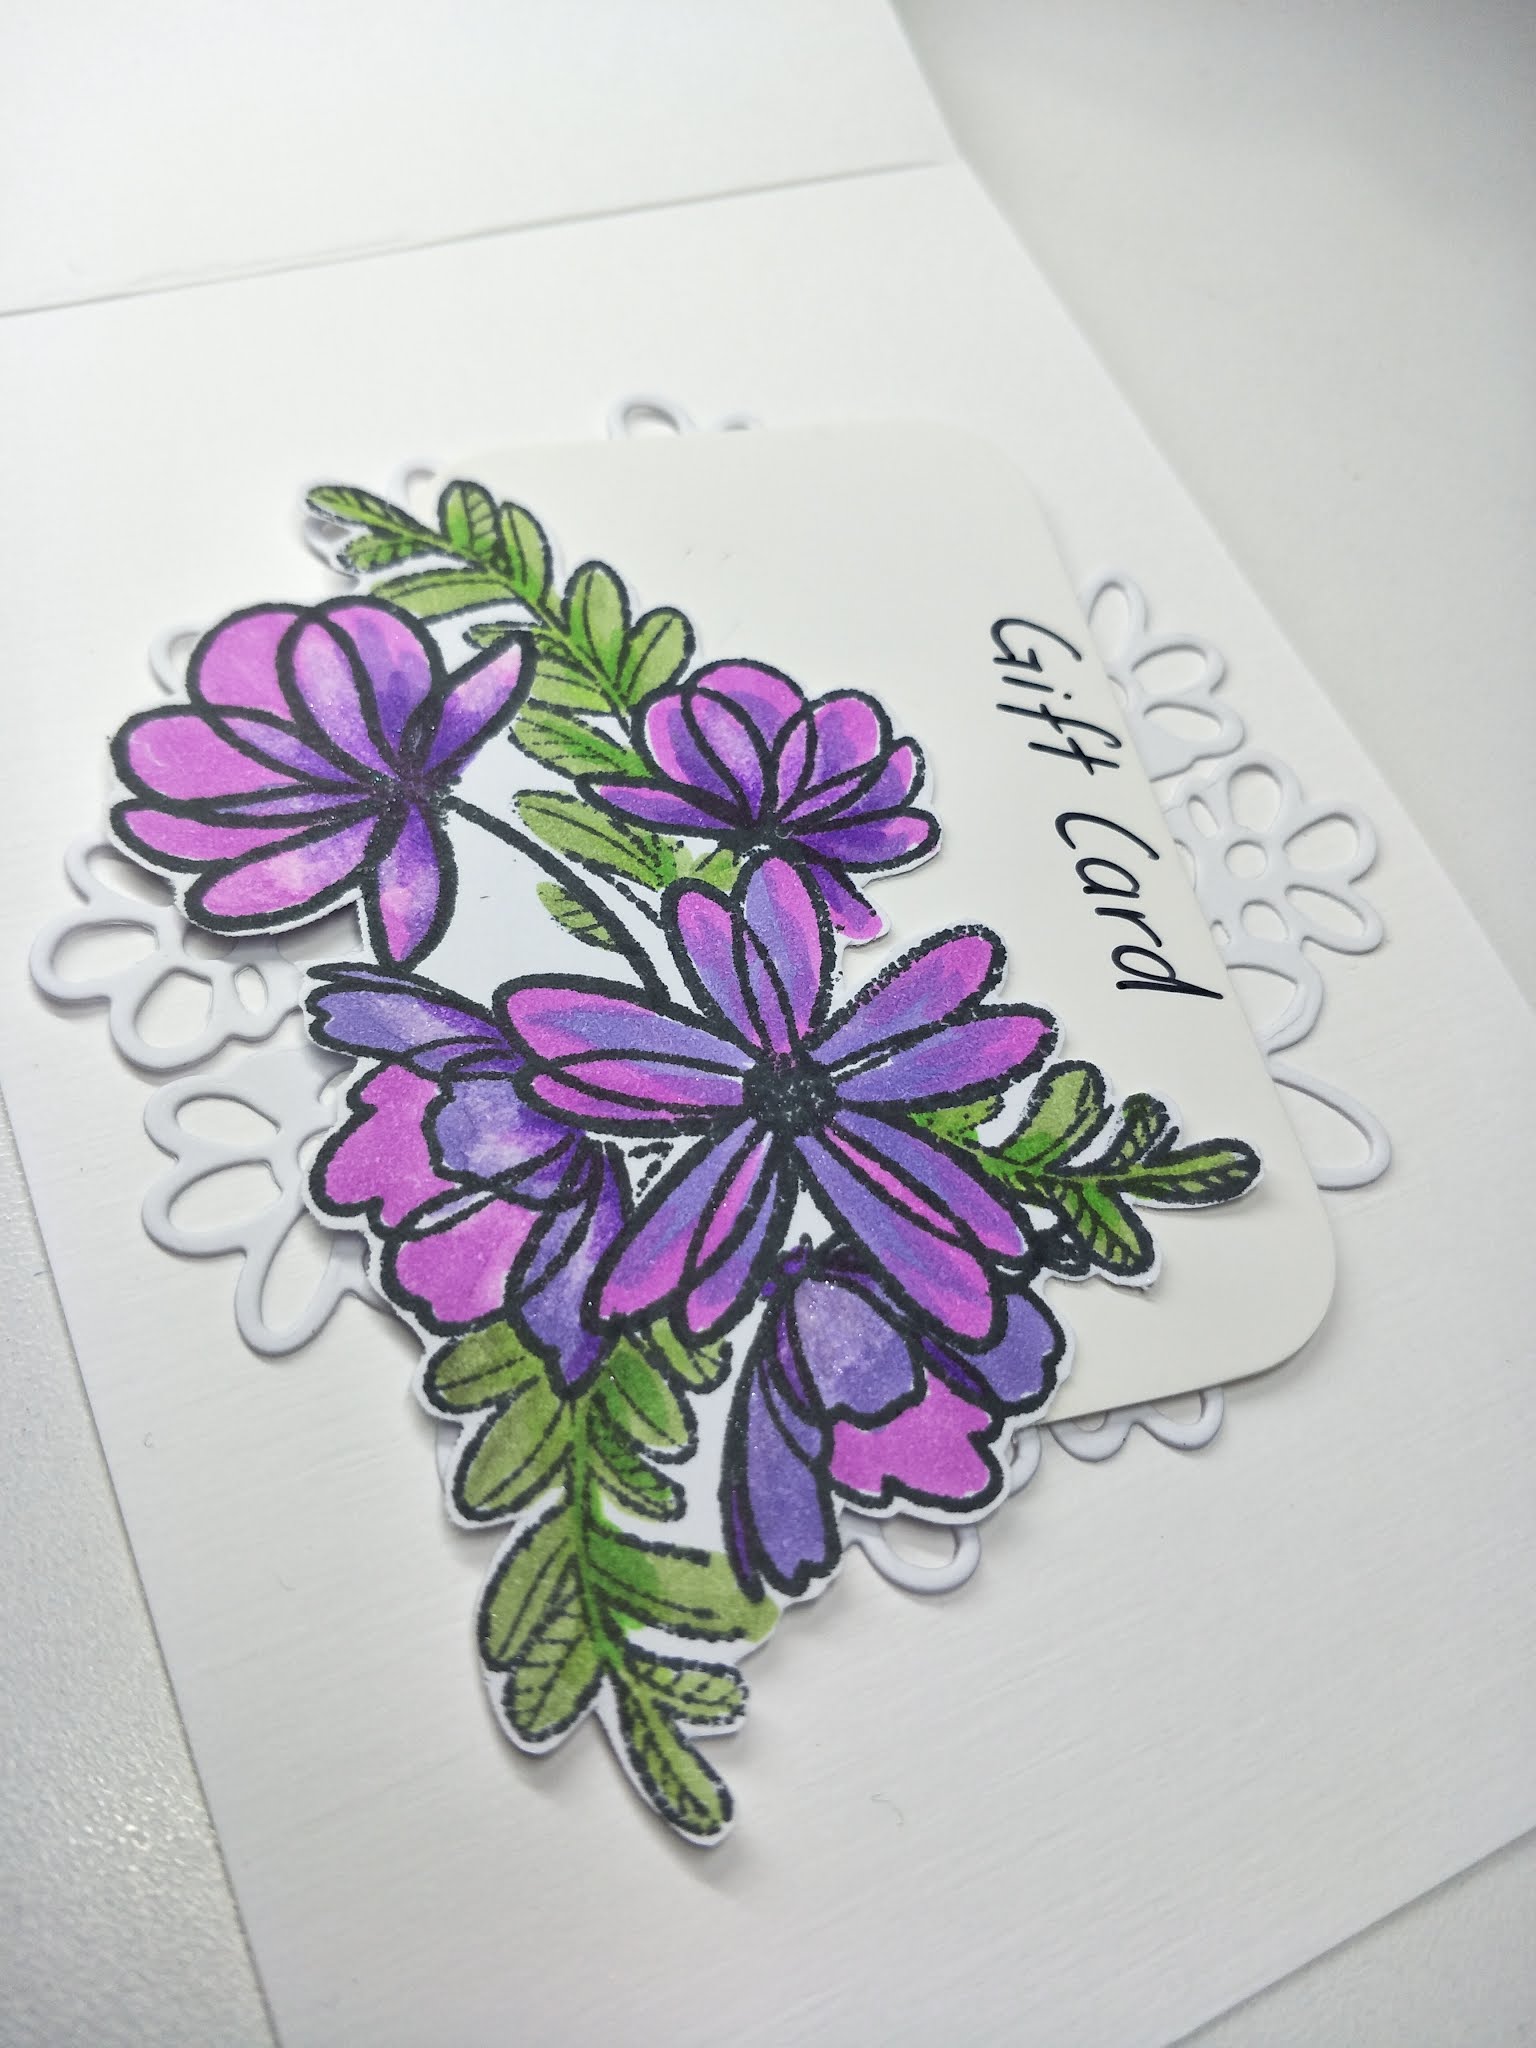
I wanted to incorporate a gift card to a Christmas card so I created this Slider Card.  It was a simple process of creating the slider.  This is an A6 size card and the measurements for the slide mechanism are detailed in a photo above.  To get these figures I measured the 'Deer focal piece' to get the width of the slider and also the length of a gift card to get the the length of the tag/slider.  The stamp 'Merry Christmas' had to fit into the opening as well.  To cut the front fold area into the card front, I found a rectangle die that would fit my slider and partial cut the 3 sides.  I scored a fold line along the 4th side of the cut, then allowed 1cm as a front band then divided the remainder and scored a fold line in the middle.  I attached the 'Deer' to the front of the fold.

I pulled the slide up then aligned the card front to the card base, penciled in an outline of the area available to do the stamping on.   I embossed the stamped sentiment in this area with silver embossing powder and coloured the letters with blue alcohol ink.  I then sprayed over this area with a glitter shimmer spray.  Because the 'Deer' die cut had a glittered edge, I decided to add a similar effect to the card front panel by going around the edge with an embossing pad, sprinkled glitter embossing powder on it and heat set it.  I glued the ribbon to the front, then added the double-sided tape as shown in a photo above.  Before I could attach it to the card front, I had to glue/tape the tag base to the front band.  The tag has to hold gift card so it needs to be able to slide easily but not loose.  

Once all that was in place, I just added the final trimmings

  I quite enjoyed learning how to make this type of card and I think it turned out very pretty and sparkly.  It was a gift with a gift.  

You could compliment this card with one of the lovely printed envelopes that have been released with this collection.


CO724990    Embossing Powder - Sparkles Silver/Silver
CO727166    Glitter Card - Silver
CO727177    Glitter Card - White
CO727181    Photographic Alpine White Smooth
CO728530    Outline Stamp - Merry Christmas
CO728532    Nesting Die - Happy Holidays Tall Card (Branch)
CO728564    6x6 Paper Pack - Winter Dazzle
CO728570    Mini Die - Rustic Christmas Tree
CO728549    Die Cut Shapes - Snowy World
COAP9421   Alcohol Marker - Powder Blue


Other Products:-
Silver Ribbon, Crystal Ribbon, Silver bells, Silver decorative trim, Gift Card, Glue & Double-sided tape.


Thanks for stopping by ...


You can see me over on my personal blog here:-


Sunday 17 October 2021

Scallops and Xmas Boxes

 Scallops and Xmas Boxes Cards


Welcome again! Still loving the 'glitter', this time using glitter card and glitter glue.  These elements are from Couture Creation's new collection 'Deck the Halls'.  This set is for the 8 1/2" x 4 1/4" Tall card.

I wanted to use the new 'Golden Age' alcohol inks as well because - you guessed it, it has gold glitter in them.  To create the background card, I dropped the 3 alcohol ink colours onto a plastic sheet and then used a scrunched up piece of plastic wrap as a dauber and randomly daubed into the inks then onto the white cardstock.  I left the card for the ink to dry before die cutting the elements.  I cut a mix of pieces from the different card then divided them up between the 2 cards.  On the scalloped edges I painted some gold glitter glue.  On the white 'present boxes' and the red die cut sentiment I coated them with some clear lacquer to create a 3D effect.  

Once all the elements were ready, I backed some with cardboard or foam then glued/mounted the arrangement in place.


CO724847     Tall White Card & Envelope
ULT200066    Cardstock - Blood Red
CO727173     Glitter card - Gold
CO727181     Photographic Alpine White Smooth card 
CO728538     Deck The Halls - Nesting Die Set - Scalloped Rectangles
CO728573     Deck the Halls - Mini Die - Merry Christmas
CO727326     Alcohol Ink - Red Pepper
CO728489     Alcohol Ink - Golden Age - Cardinal
CO728486     Alcohol Ink - Golden Age - Fuschia
CO726327    Glue - White Tacky
CO724824    GoCut and Emboss die cutting machine


Other Products:-
Gold glitter glue, clear lacquer, plastic wrap, cardboard backing and adhesive foam squares.


Thanks for stopping by ...


You can see me over on my personal blog here:-


Rustic Snowman

  Snowman Seasons Greetings Card


Welcome again!  Not that I can relate to a snowman in my part of the world, but it was really fun to colour him using the vibrant new alcohol markers just released at Couture Creations.  I have to confess that this is a new technique for me and I am enjoying the process.

This is one of the exciting new 'Stamp & Colour Outline Stamps from Couture Creation's new collection 'Deck the Halls'.  It fits nicely on a 5x7 card.

I had a left over heat embossed sentiment from a previous project so that saved me a step, just had to mount it onto a label and back it with foam tape. 

The precision stamp press is wonderful for re-stamping onto the same image to get the colour depth you like.  

The colours of the snowman was a bit hit and miss, I just grabbed colours that I liked and I think it turned out lovely and bright.  The colouring technique that I used was this:- from the outside line I flicked or circled strokes in towards the centre area.  I started with the light colour first, then mid colour, colourless blender over these 2 colours, then dark colour and back to mid colour.  The colourless blender may be used after the coloured area is finished or if it blended ok, I didn't use it.  For the twirls in the air, I painted them with a water brush with a mix of 2 pigment powders and a bit of water.  The photos don't seem to pick up the lovely pearly sheen.  

To finish, it was just a matter of trimming the image and matting it onto the card front.


CO725815     5x7 White Card & Envelope
ULT200027    Cardstock - Chrysalis
ULT200066    Cardstock - Blood Red
CO724994      Embossing Powder - Brights - Candy Red
CO725537     Mix and Match Pigment - Pearl White
CO725540     Mix and Match Pigment - Silver Grey
CO727181     Photographic Alpine White Smooth card 
CO728506     Stamp & Colour Outline Stamps - Rustic Snowman
CO728475     Outline Ink Pad - Black
COAP0          Alcohol Marker - Colourless Blender
COAP187      Alcohol Marker - Geranium
COAP205      Alcohol Marker - Pale Red
COAP123      Alcohol Marker - Melon
COAP142      Alcohol Marker - Fresh Yellow
COAP2727    Alcohol Marker - Bright Blue
COAP9421    Alcohol Marker - Powder Blue
COAP2283     Alcohol Marker - Milk Green
COAP354       Alcohol Marker - Pale Green
COAP356      Alcohol Marker - Grass Green
COAP006      Alcohol Marker - Black
COAP535      Alcohol Marker - Steel Grey
COAP430      Alcohol Marker - Grey
COAP7546    Alcohol Marker - Dark Slate
CO728278     Embossing Ink Pad
CO725662     Goodbye Static Pad
CO727948     Blending Brush - Medium
CO728462     Handy Clips
CO726327    Glue - White Tacky
CO724824    GoCut and Emboss die cutting machine
CO72738      Precision Stamp Press 
CO728387    Water Brush

Other Products:-
 Cardboard backing and adhesive foam squares.


Thanks for stopping by ...


You can see me over on my personal blog here:-


Tiered Tree Card

  Tiered Tree Card


Welcome again!  This 'Stamp & Colour Outline Stamp' is called the 'Tiered Tree' - so that is what I did.  This is from Couture Creation's new 'Deck the Halls' collection. 

Just felt like using the Teal colours (so many to choose from) for colouring the trees.  I stamped and coloured 3 complete trees then fussy cut them out.  Two of the trees were cut into segments to create the tiers.  Layer the levels with foam tape between sections.

I foiled a frame with a retired die - any frame would work.  This was backed with cardboard.

I trimmed the coloured cardstocks and glued them to the card front.

Next I heat embossed the sentiment and matted it to the card front. 

I mounted the trees to the frame and then stroked highlights around the trees using the pigment powder mixture.  (Into a water brush, add about 1cm of water and a pinch of the 2 pigment powders, shake and brush onto your work).  I also added a little bit this pearly sheen to the sentiment.

That's it. 


CO725815     5x7 White Card & Envelope
ULT200030    Cardstock - Caruso
CO724993      Embossing Powder - Sparkles - Turquoise
CO725537     Mix and Match Pigment - Pearl White
CO725540     Mix and Match Pigment - Silver Grey
CO727181     Photographic Alpine White Smooth card 
CO727179     Photographic Black Smooth card
CO728526     Stamp & Colour Outline Stamp - Tiered Tree
CO728475     Outline Ink Pad - Black
COAP0          Alcohol Marker - Colourless Blender
COAP2213    Alcohol Marker - Deep Sea
COAP2233    Alcohol Marker - Flax Blue
COAP323        Alcohol Marker - Lake Green
COAP9482     Alcohol Marker - Pale Blue
CO725692     Foil - Sea Breeze
CO728278     Embossing Ink Pad
CO725662     Goodbye Static Pad
CO728462     Handy Clips
CO726327    Glue - White Tacky
CO724824    GoCut and Emboss die cutting machine
CO72738      Precision Stamp Press 
CO728387    Water Brush


Other Products:-
Foil frame die (I used retired CO726755), cardboard backing and adhesive foam squares.


Thanks for stopping by ...


You can see me over on my personal blog here:-


Rustic Tree and Holly BonBons

 Rustic Tree and Holly BonBons


Welcome again!  These elements are from Couture Creation's new collections 'Deck the Halls' 

I wanted to created something that wasn't a card using these christmas dies so I tried my hand at these 'Crackers/BonBons'.  The paper pad is 6 1/4" x 6 1/4" so I created 2 templates to make it a 5 sided bonbon.  The difference is the length of the middle section.  I added a paper flap to the horizontal side so each of the sides can be glued without covering any of the patterned paper.  Each side has a glued on added 1" strip of glitter card with that has one fancy edge . 

I scored along the measurements in both directions.  To cut the centres of the folded section that is under the bow area, I used the large corner punch.  You have to hold the fold on the centre score line and the horizontal side score line so as to create a right angle to go into the punch.  

Once everything is scored, punched and glued it is just a matter of coaxing the folds to create the tied area to form.  Tie a matching ribbon on each side.  The die cuts are then glued to the centre front of the bonbon.

If you want to add a gift inside I would wrap it in tissue paper and place it inside before the sides are glued together.   


CO725405     Mirror Board -Matte Gold Damask
CO727173      Glitter Card - Gold
CO727169     Glitter Card - Purple
CO728564     Winter Dazzle 6"x6" Paper Pack
CO728565     Deck the Halls - Die - Holly Centrepiece
CO728570     Deck the Halls - Die - Rustic Christmas Tree
CO725349     Corner Punch - Large 10mm
CO726342     Scoring Board - 12"
CO726327    Glue - White Tacky
CO724824    GoCut and Emboss die cutting machine


Other Products:-
Gold and purple ribbon. 


Thanks for stopping by ...


You can see me over on my personal blog here:-


Saturday 28 August 2021

Special Thanks Window Card

Special Thanks Window Card


Welcome again! I can't keep away from glitter elements, this time using the beautiful purple glitter card. These stamps and dies are from the new collection You Go Girl designed by Lucy Campeanu.

The day before I had to make a resin frame and allow it to set before I could make this card.  I started by preparing all the required elements ( I never know how many I really need so I just make a few extra).  I stamped and die-cut the leaves,  flowers, dragonfly and corner flower pieces.
With the oval dies, I used the larger one to cut the purple glitter card first then positioned it over the front of the card base.  I then aligned the smaller die inside this to cut the card front.

I made 3 'fuschia' flowers.  I used the ball tool to shape the petals.  I glued the bottom petals face downward and the top petals and sepal upwards.  I pieced a hole through the centres and glued the stamens in there.
I embossed a sentiment onto white card then sized it down to fit inside the resin frame and cut a 'v' at one end.  

I created a floral arrangement with the stamps by masking and layering - remember the image that you want in the front has to be the first image stamped then masked.  I stamped the flowers with the black outline ink onto the photographic white card and coloured them with the alcohol ink markers.  I love how the colourless blender changes the colours slightly and gives you a bigger range of colours.  Once it was coloured, I fussy cut it out and put foam squares on one side underneath.

It was time to assemble all of this.  Between the card front and purple glitter card I placed a corner flower die on alternative sides of the oval area then glued them in place.  Everything else was glued into position as per the photos.  Inside the card I created a spot for a 'Gift Card' to go as a special option.


CO723893     A6 White Card
ULT200038    Cardstock - Jungle
ULT200084    Cardstock - Devine
ULT200086    Cardstock - Royal Midnight
CO724977     Embossing Powder - Amethyst Metallic Finish
CO727169     Glitter Card - Purple
CO727177     Glitter Card - White
CO727181     Photographic Alpine White Smooth card 
CO728361     Stamp Set - You Go Girl - Layered Florals 
CO728368     Stamp Set - You Go Girl - Sentiments
CO728375     Die - You Go Girl - Floral Corner
CO728378     Die - You Go Girl - Princess
CO728380     Stamp & Die - You Go Girl - Flexing Branch
CO728384     Stamp & Die - You Go Girl - Layered Dragonfly
CO728475     Outline Ink Pad - Black
COAP0          Alcohol Marker - Colourless Blender
COAP2288    Alcohol Marker - Tender Pear
COAP354      Alcohol Marker - Pale Green
COAP7493    Alcohol Marker - White Lotus Leaf
COAP2065    Alcohol Marker - Wisteria
COAP271      Alcohol Marker - Lavender
COAP2715    Alcohol Marker - Hydrangea
CO728096     Clear Casting Resin
CO726327     Glue - White Tacky
CO724824     GoCut and Emboss die cutting machine
CO728285     Scoring & Modelling Set
CO728386     Stamping & Pricking Mat
CO727381     Precision Stamp Press 

Other Products:-
Silicone mould for frame, adhesive gemstone, glitter pen, Gesso or white paint,  Stamens and Gift Card.


Thanks for stopping by ...


You can see me over on my personal blog here:-