Showing posts with label #Acetate. Show all posts

Tuesday, 6 April 2021

Happy Easter Pop-Up Box Card

 HAPPY EASTER

POP-UP BOX CARD


Hello Everyone, I had a bit of a play with the 'Blooming Friendship' Collection to see if I could create something for Easter.  The collection has a lot of elements to use so this is what evolved.  This time I am only showing a few pics with the products used at the bottom.  

Happy Easter to You!


Top View showing the support frames that the elements on the acetate strips are mounted onto.


My finished project


Couture Creations Products used:-

CO728099             Blooming Friendship - Paper Collection, Page 1A&B
CO728113     Blooming Friendship - Die - Ancanthus Corners
CO728116     Blooming Friendship - Die - Mosaic
CO728118     Blooming Friendship - Die - Friendly Branches
CO724963     Embossing Powder - Basics - Glacier White
ULT200018    Cardstock - Blue Jay
ULT200021      Cardstock - Caloden
CO727166     Glitter Card - Silver
CO723978     Heat Tool
CO727381     Stamp Press
CO726325     Clear Glue - Quick Dry Adhesive
PM10175      Precious Marieke Spring Delight - Spring Bunnies


Other Products:-
    Acetate, small 'Oval' & 'Circle' dies, 'Happy Easter' stamp, web ribbon and sisal fibres


To find a store near you that stock these Couture Creations products, click on the following link:- 


My Blog link is:-


Thanks for joining me...


Tuesday, 16 March 2021

Thank You Friend Shaker Card

 Thank You Friend

Shaker Card


Hello again, welcome to my next project for Couture Creations using the 'Blooming Friendship' Collection.  This time I created a shaker card. 


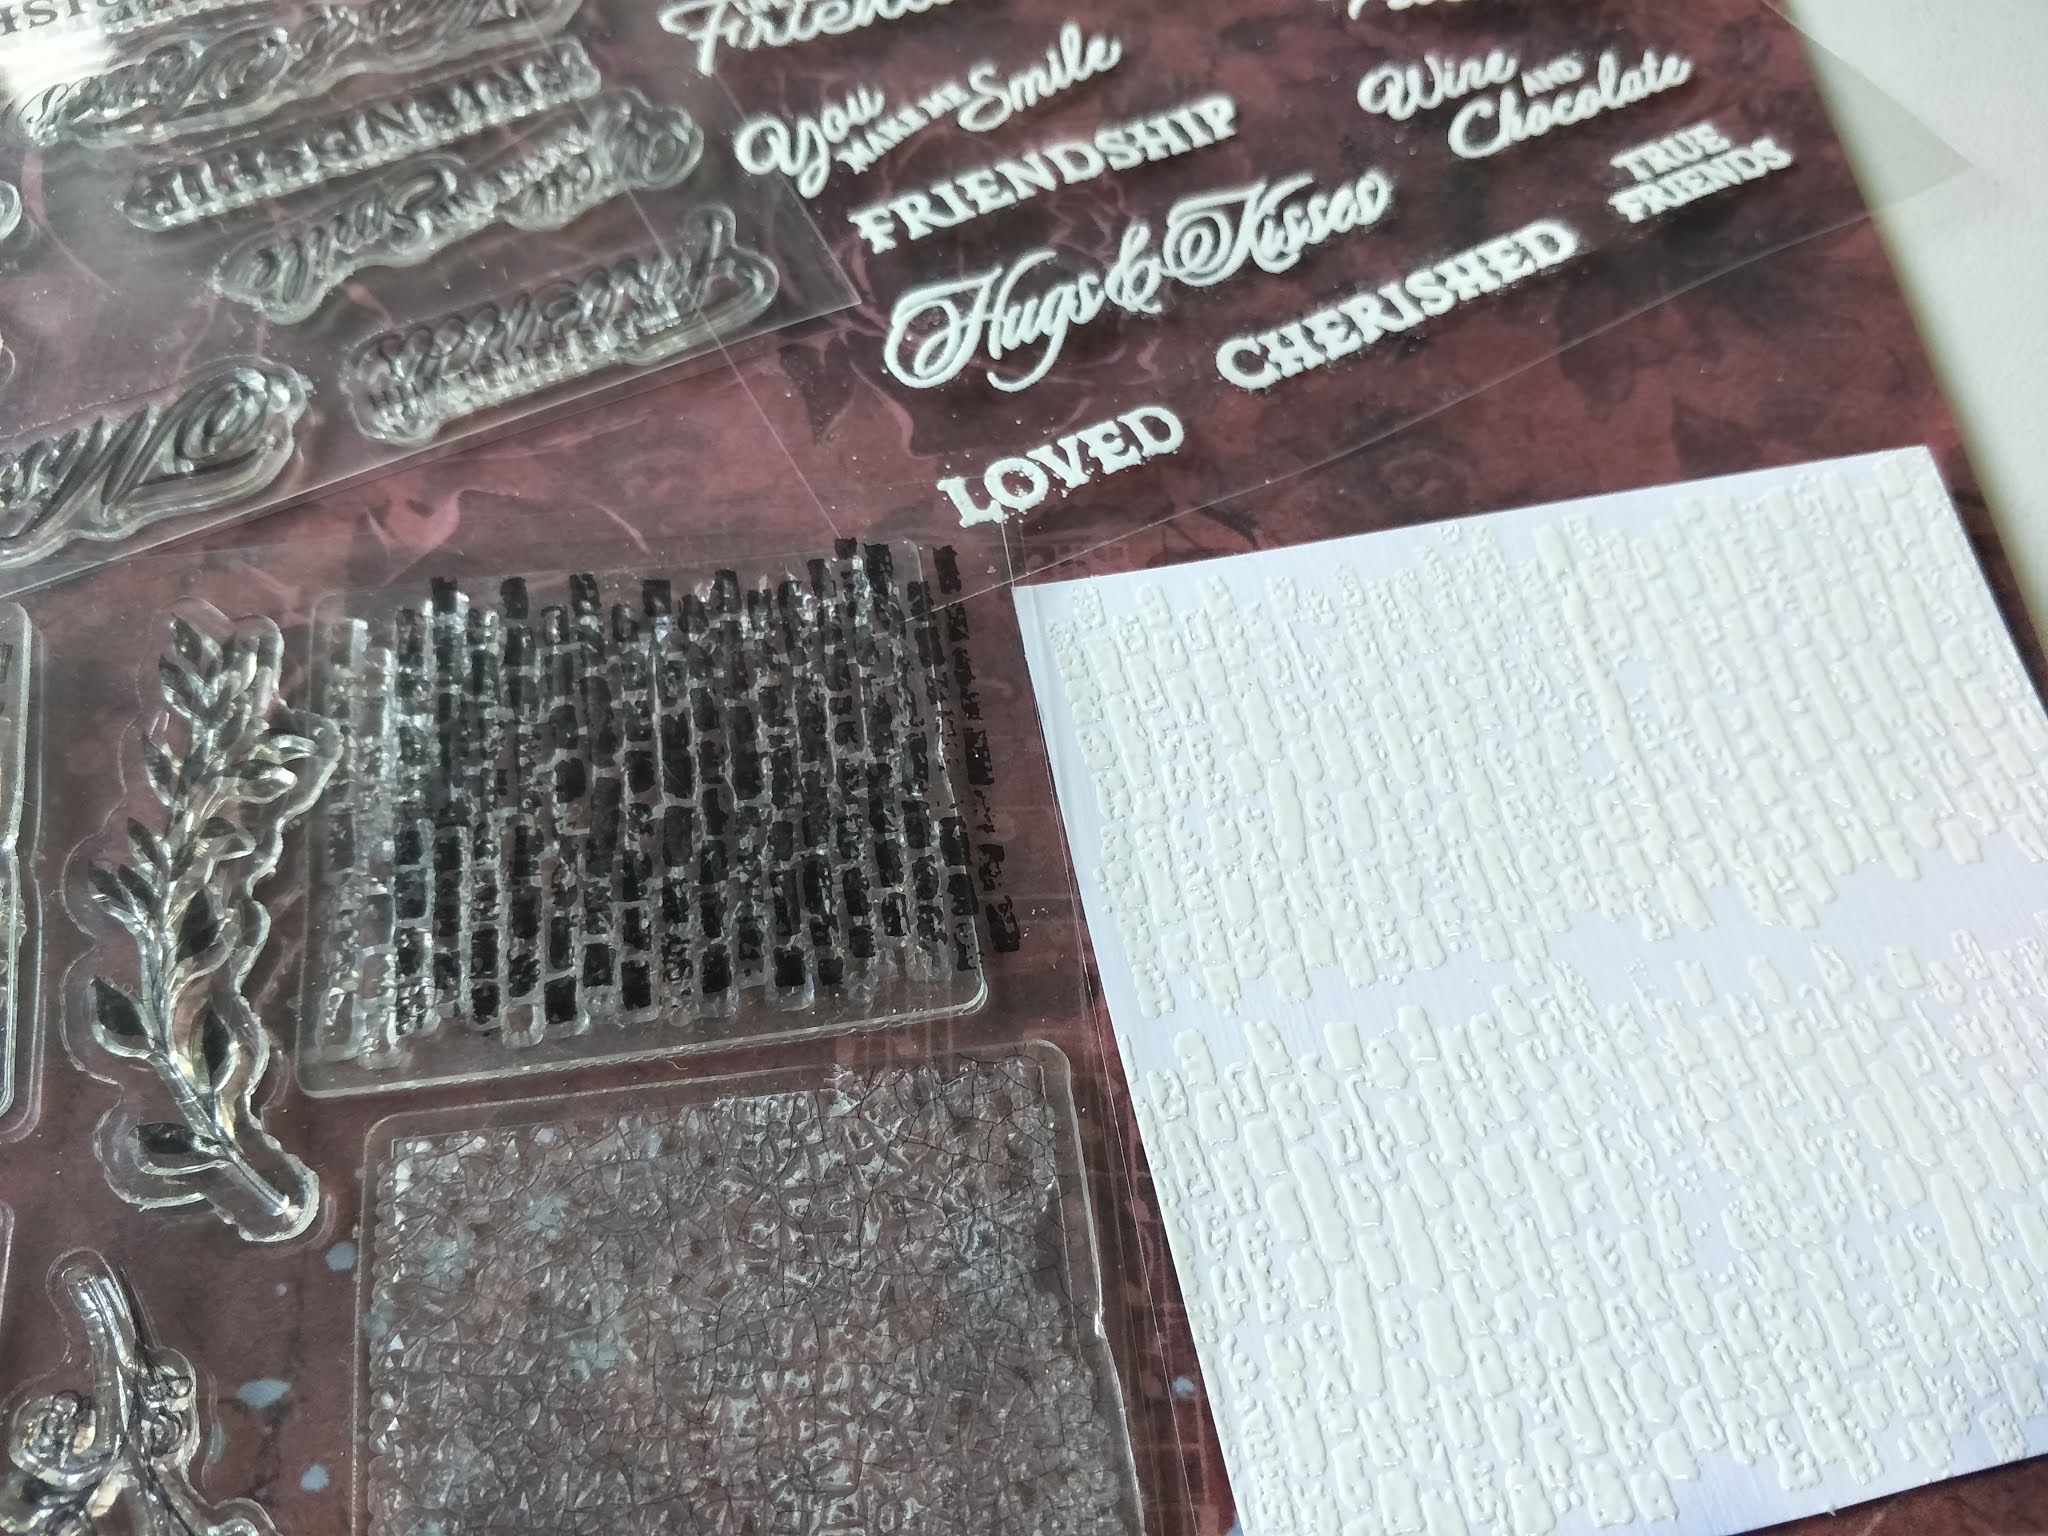
I started with the stamping and heat-embossing. I had to first stamp the flower, 2 mugs and the cookie onto white card and heat-emboss with silver glitter embossing powder.  The word 'friend' was created by embossing the stamp 'friendship' onto heat-resistant acetate (the heat from the heating tool will warp normal acetate)and embossed it with white embossing powder, then trimmed it down to just have 'friend'.

Once that was done I started making the shaker frame.  I aligned the 2 larger flower dies over the stamp and cut them out together.  While they were still taped together I then cut the same frame out of foam. I then slid the postcard under the newly created frame to make sure the wording was positioned where I wanted it.  Using the frame as the guide, I then placed the 2nd largest die over the postcard and die-cut it. I used the large die to cut the acetate.  I glued the frame to the acetate then the acetate to the foam.   To make the silver accent frame, I laid the 2nd largest die over the silver cardstock and using a pencil, I just traced around the inside and outside and cut it out using a craft knife.

I glued a couple of sequences directly onto the postcard cutout, added the rest into the well of the frame. I aligned the postcard cutout into the frame and held it there with a couple of strips of tape so I could flip it over and glue it to the card front.

Next I glued a background mat from the silver card to the cardbase then topped it with the designer paper that was distressed around the edges.

I glued the shaker frame to the card front. I fussy cut the 2 mugs and cookie. I added a foam square behind the bottom of the cookie cutout and one behind the centre of one mug.  I arranged them as per the photo and glued them in place.  I finished by adding a few blue branches from the ephemera pack.  I thought it needed something, so I got my water-brush out and grey dye ink and randomly painted around the flower near the silver frame.


A sideways view.


A closer look at the layering.


The finished project.


Couture Creations Products used:-

CO728099             Blooming Friendship - Paper Collection, Page 1B & Postcard
CO728107     Blooming Friendship - Ephemera Set
CO728110     Blooming Friendship - Stamp/Die - Blooming Flower
CO728123     Blooming Friendship - Stamp - Tall Hot Chocolate
CO728125     Blooming Friendship - Stamp - Cookies
CO728130     Blooming Friendship - Stamp - Cherished Friends
CO724990     Embossing Powder - Sparkles - Silver/Silver
CDEIPU035          Dye Ink - Grey
CO727166     A4 Glitter Card - Silver
CO723978     Heat Tool
CO727381     Stamp Press
CO726809     Craft Knife

Other Products:-
    Card base and white cardstock, distressing tool, sequences, heat-resistant acetate, white foam, double-sided foam tape, cardboard, glue and water-brush.


To find a store near you that stock these Couture Creations products, click on the following link:- 


My Blog link is:-


Thanks for joining me...


Monday, 8 March 2021

Blooming Friendship 'Cherished Friends' Layout

 Blooming Friendship

'Cherished Friends' Layout


Welcome to my next project for Couture Creations using the
'Blooming Friendship' Collection.


I thought I would do a layout this time. As part of this project I wanted to challenge myself and see how many ways I could use the flower die & stamps.  So here goes....


This is the ensemble of components that I gathered together to create this layout.


I started by embossing.  The sentiments were embossed on heat-resistant acetate (the heat from the heating tool will warp normal acetate) and the brickwork stamp was embossed on white cardstock.


I stamped the music stamp onto white card before die-cutting out some leaves.  I wanted a 'frame' so I used the 2 middle dies from the large flower set to create it.  I thought the embossed brickwork gave the frame more character.  The middle also came in useful (never throw anything away until you are finished)


Next was to see if I could make a 3D flower from these dies.  I chose 2 red coloured cardstock and cut 1 of the large die and 3 of each of the 2 smaller dies.


I quickly dipped each piece into water before folding and scrunching them into a shape.


I put them in the sun for a bit to dry and then carefully unravelled each piece to see a new flower.  I chose one of each colour and glued a smaller flower to the centre of 3 of the larger flowers and added a stamen or two as well.


This was a surprise die.  It is a mosaic tile but I found I could get 4 different sized flowers from it.


I solved the problem I was having with aligning the dies to the stamp.  First I placed each die over the acetate image. I drew a mark on the top of the acetate sheet and then on top of each of the dies.  I then coloured in each of the areas with alchol markers.  Once I got that sorted, I stamped and embossed the image 4 times, then die-cut them out.  


I carefully rolled the underside of each die-cut with the ball tool to give them some dimension. Between each layer I added a double-sided foam square and muslin and secured them all together with a few stamens and glue.


A closeup of the finished flower.


The front 'photo' page measured 4" x 6".  The other were trimmed down off-cuts arranged to make an interesting cluster. I distressed the edges on all sides and added cardboard behind various areas to create a pile so I could have some 'tuck spots'.  Once I was happy with the arrangement, I glued it into place (slightly off centre to the right).


A sideways view of the stack of papers and flower.


A closeup of the top right area.


I was just a matter of playing around and see what looked good where and glue it down.  The sentiments look like they are floating in mid air.


A closer look at the bottom left area.


Once everything was in place, I covered the photo area with a piece of paper and lightly sprayed the entire page with some glitter spray.  You can see the large flower sparkles in this photo. 


The finished project.

Couture Creations Products used:-

CO728099             Blooming Friendship - Paper Collection, Page 1A&B,4B,& 5B
CO728110     Blooming Friendship - Stamp/Die - Blooming Flower
CO728113     Blooming Friendship - Die - Ancanthus Corners
CO728115     Blooming Friendship - Die - Wine and Dine
CO728116     Blooming Friendship - Die - Mosaic
CO728118     Blooming Friendship - Die - Friendly Branches
CO728129     Blooming Friendship - Stamp - Backgrounds & Borders
CO728130     Blooming Friendship - Stamp - Cherished Friends
CO728117     Blooming Friendship - Die - Coffee Break
CO728118     Blooming Friendship - Die - Friendly Branches
CDEIPLU018   Dye Ink - Light Blue
CDEIPLU032   Dye Ink - Cappuccino
CO724963     Embossing Powder - Basics - Glacier White
ULT200001    Cardstock - Snow White
ULT200024    Cardstock - Verde
ULT200038    Cardstock - Jungle
ULT200067    Cardstock - Garnet
ULT200068    Cardstock - Carnelian
CO727948     Blending Brush - Medium
CO723978     Heat Tool
CO727381     Stamp Press


Other Products:-
    Distressing tool, stamp press, ball tool, heat gun, heat-resistant acetate, stamens,  muslin/cheesecloth, spray glitter, cardboard and glue.


To find a store near you that stock these Couture Creations products, click on the following link:- 


My Blog link is:-


Thanks for joining me...


Thursday, 11 June 2020

Creating History Together Butterfly Card - CCDT 1820


'Creating Memories Together Butterfly Card'


Hello Everyone,

Welcome to my next project for Couture Creations using the
 'Steampunk Dreams' Collection.

There is a great mix of interesting elements in this collection - you could so easily create a card for a female or a male, a layout or off-the-page project.  The butterflies are like no other I have seen before, so I just had to have a play with them.  Along with each collection I also like to try new techniques, so I experimented with multi-coloured pigment inks and clear embossing powder.

I hope it inspires you to give it a go


My finished Butterfly card


The components used for this project

Here I heat embossed the sentiment with white embossing powder onto heat resistant acetate.  On the butterfly stamp, I combined different coloured pigment inks then I added clear embossing powder to highlight the detail.  I also created another added interest.


All the elements prepped and ready for assembly. 
My card size is  4 1/8" x 5 7/8" (1/4 of an A4 sheet).
My matting piece is 1/8" smaller on all sides.  The peeled paint paper was cut to the exact length of the matt piece.  The Mesh Die was cut from the glitter card -I kept a few of the circle off-cuts.  The butterfly and cogs were from the same patterned paper.

I attached the pieces to the card with a mix of glue, double-sided tape and foam tape.  After every piece was in place I tucked and glued some aqua/blue sisal fibres and some self-adhesive mesh plasters tape under the butterfly.


Another view


The finished card


Couture Creations Products Used:-

CO727708 & 9 -   Steampunk Dreams -12-x-12in Sheets               
ULT200013 -  12x12" cardstock - Seafoam  
CO727711- Die - Steampunk Dreams - Mesh
CO727714- Die & Stamp - Steampunk Dreams - Butterflies and Gears -8pc 
CO727719- Stamp - Steampunk Dreams - Sentiments - set-10pc
CDEIPUL005 - Pigment Ink - Pearlescent - Turquoise
CDEIPUL028 - Pigment Ink - Pearlescent - Silver
CDEIPUL029 - Pigment Ink - Pearlescent - Bronze
CO724963 - Embossing Powder - Glacier White - Opaque
CO724959 - Embossing Powder - Crystal Clear -Basics - High Gloss
CO723978 - Multi-purpose Heat Tool
J7036-1001PAD - Versamark Ink Pad
CO725662 - Goodbye Static Pad
F1005249- 12 inch Trimmer
CO726520- GoPower & Emboss Machine (Die-Cutting Machine)


Other Products:-     Distressing tool, Foam tape, Double-sided tape, Glue, Heat Resistant Acetate, Aqua/Blue Sisal Fibres, Self-adhesive Mesh Plasters tape.


To find a store near you that stock these Couture Creations products, click on the following link:-

My Blog Link is:  

cardcraftkaylee.blogspot.com


Thanks for joining me...


Friday, 15 May 2020

Creating History Together Butterfly & Locket Layout - CCDT 1920


'Creating Memories Together Butterfly & Locket Layout'


My finished Layout


Hello Everyone,

Welcome to my next project for Couture Creations using the
 'Steampunk Dreams' Collection.

Here I am playing with more of the interesting elements in this collection - this time I am having a go at a layout. 

I love the negative images just as much as the positive ones from foiling, so I added both images of the butterfly and locket  to this project.  The sentiment stamps are just as impressive.  How appropriate is this one -'Creating History Together' for new parents.

I hope it inspires you to give it a go


Components used for this project.


All components prepped and ready for assembly.

I cut the designer paper just under the music notes, being careful to keep any overlapping flowers by fussy-cutting around them.  I followed that angle to cut all other papers.  I tried to create a bit of interest in the top left corner to try and balance the colours.  I wanted to add interest to the borders so I off-set them with different width margins.  All the edges of the paper cuts were inked.

All the foiling was done on black card.  I used both the positive and negative images of the butterfly and locket.  I die-cut the key and small heart (that was from the centre of the key), added glue to them, then used the off-cuts of the foil to burnish over the glued area then lifted off leaving a distressed look on them. 

I die-cut the small tags, placed them into the embossing folder and then ran them through the die-cutting machine.  I brushed the sanding block across the surface of the tags until the core paper appeared on the music notes.

I fussy-cut a few flowers from the designer paper, inked the edges and curled the petals to give them more dimension.

Depending on the various pieces, I used cardboard, foam tape and glue to mount them.

Once all the bulk pieces where in place I tucked and glued the muslin into areas that looked a bit bare.  I added some drops of brown alcohol ink to the art stones then glued them down.  I rubbed/blended a bit of white gesso around some of the elements just to soften their edges.

Completed Layout with all components in place.

A closer look at the layers


Another view


Couture Creations Products Used:-

CO727707 -   Steampunk Dreams 12x12"  Sheet              
ULT200006 -  12x12" cardstock - Chasm  
CO727713- Die - Steampunk Dreams - Straight Tags - 4pc 
CO727720- Cut & Create Die  - Steampunk Dreams - Stamp of Love
CO727721- Cut & Create Die - Steampunk Dreams - Heart Locket
CO727724 - Cut & Create Die - Steampunk Dreams - Steampunk Butterfly
CDEIPU032 - Dye Ink - Cappuccino
CDEIPU036 - Dye Ink - Dark Grey
CO727310 - Alcohol Ink - Espresso
CO726077-  Heat Activated Foil - Gold Iridescent Square Pattern 
CO724988 - Embossing Powder - Gold Gold - Sparkles
CO723978 - Multi-purpose Heat Tool
J7036-1001PAD - Versamark Ink Pad
CO725662 - Goodbye Static Pad
F1005249- 12 inch Trimmer
CO726520- GoPower & Emboss Machine (Die-Cutting Machine)
CO723950- Embossing Folder - A2 Scattered Notes
ULT157316- Sanding Block


Other Products:-     Black card, Foam tape, Double-sided tape, Glue, Distressing Tool, Heat Resistant Acetate, Muslin/Cheesecloth,  Art Stones and Gesso.


To find a store near you that stock these Couture Creations products, click on the following link:-

My Blog Link is:  

cardcraftkaylee.blogspot.com


Thanks for joining me...