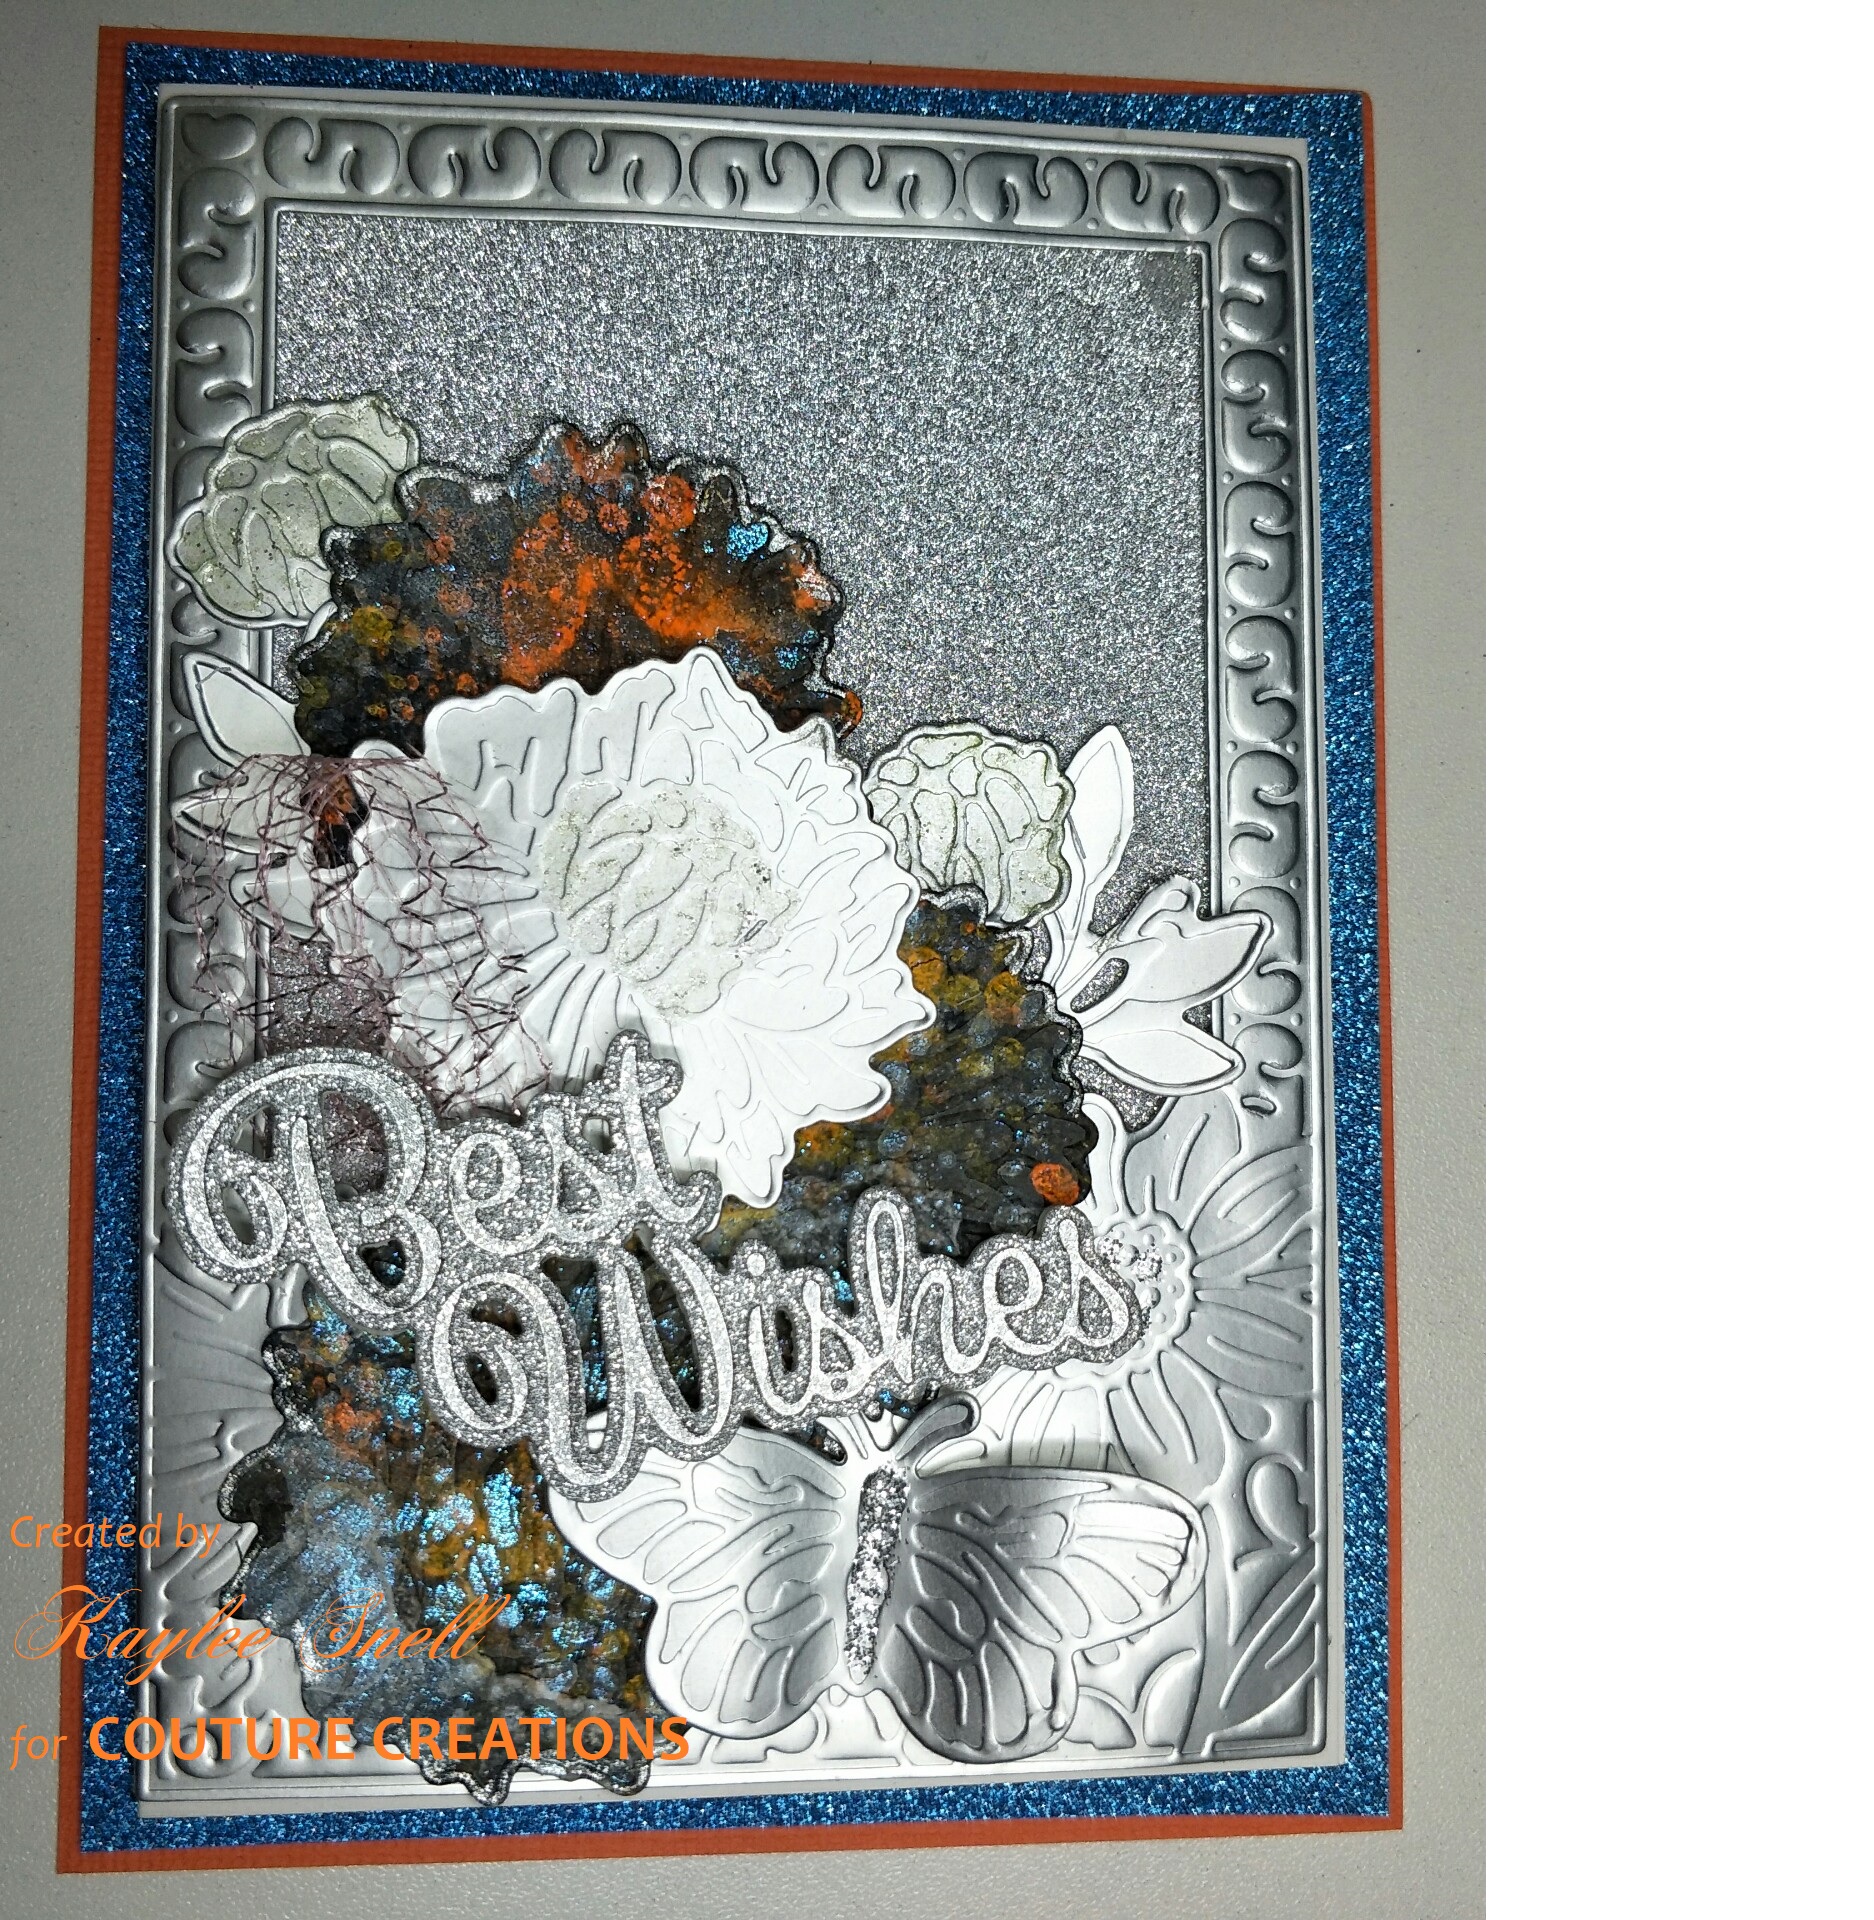
Best Wishes Floral Frame Cards


I glued the silver glitter card (backed with cardboard) to the card base. The Floral frame die was cut from matte silver card, this layered on top of the glitter card. This was my base that I used - the embossing was just beautiful.


CARD 3 - using the 'Zinnia' Dies


Couture Creations Products Used:-
BASE CARD MATERIALS
CO727726 Vintage Flowers - Floral Frame Cut & Create Die
CO725409 Mirror Boards - Matte Silver
CO727166 Glitter Card - Silver
CO723779 Foam Squares
Card Base & cardboard
Additional items for CARD 1 - DAISY
CO727727 Vintage Flowers - Standing Daisies Cut & Create Die
CO728159 Cotton Watercolour Paper - 300gsm
CO727342 Alcohol Ink Blending Tips - Fine Point
CO727312 Alcohol Ink Fluro Pink
CO727951 Alcohol Ink Fluro Yellow
CO727958 Alcohol Ink Fluro Green
CO727337 Alcohol Ink Blending Solution
CO721982 Glitzin Glamour - Antique Silver
Ribbon bow and adhesive gems
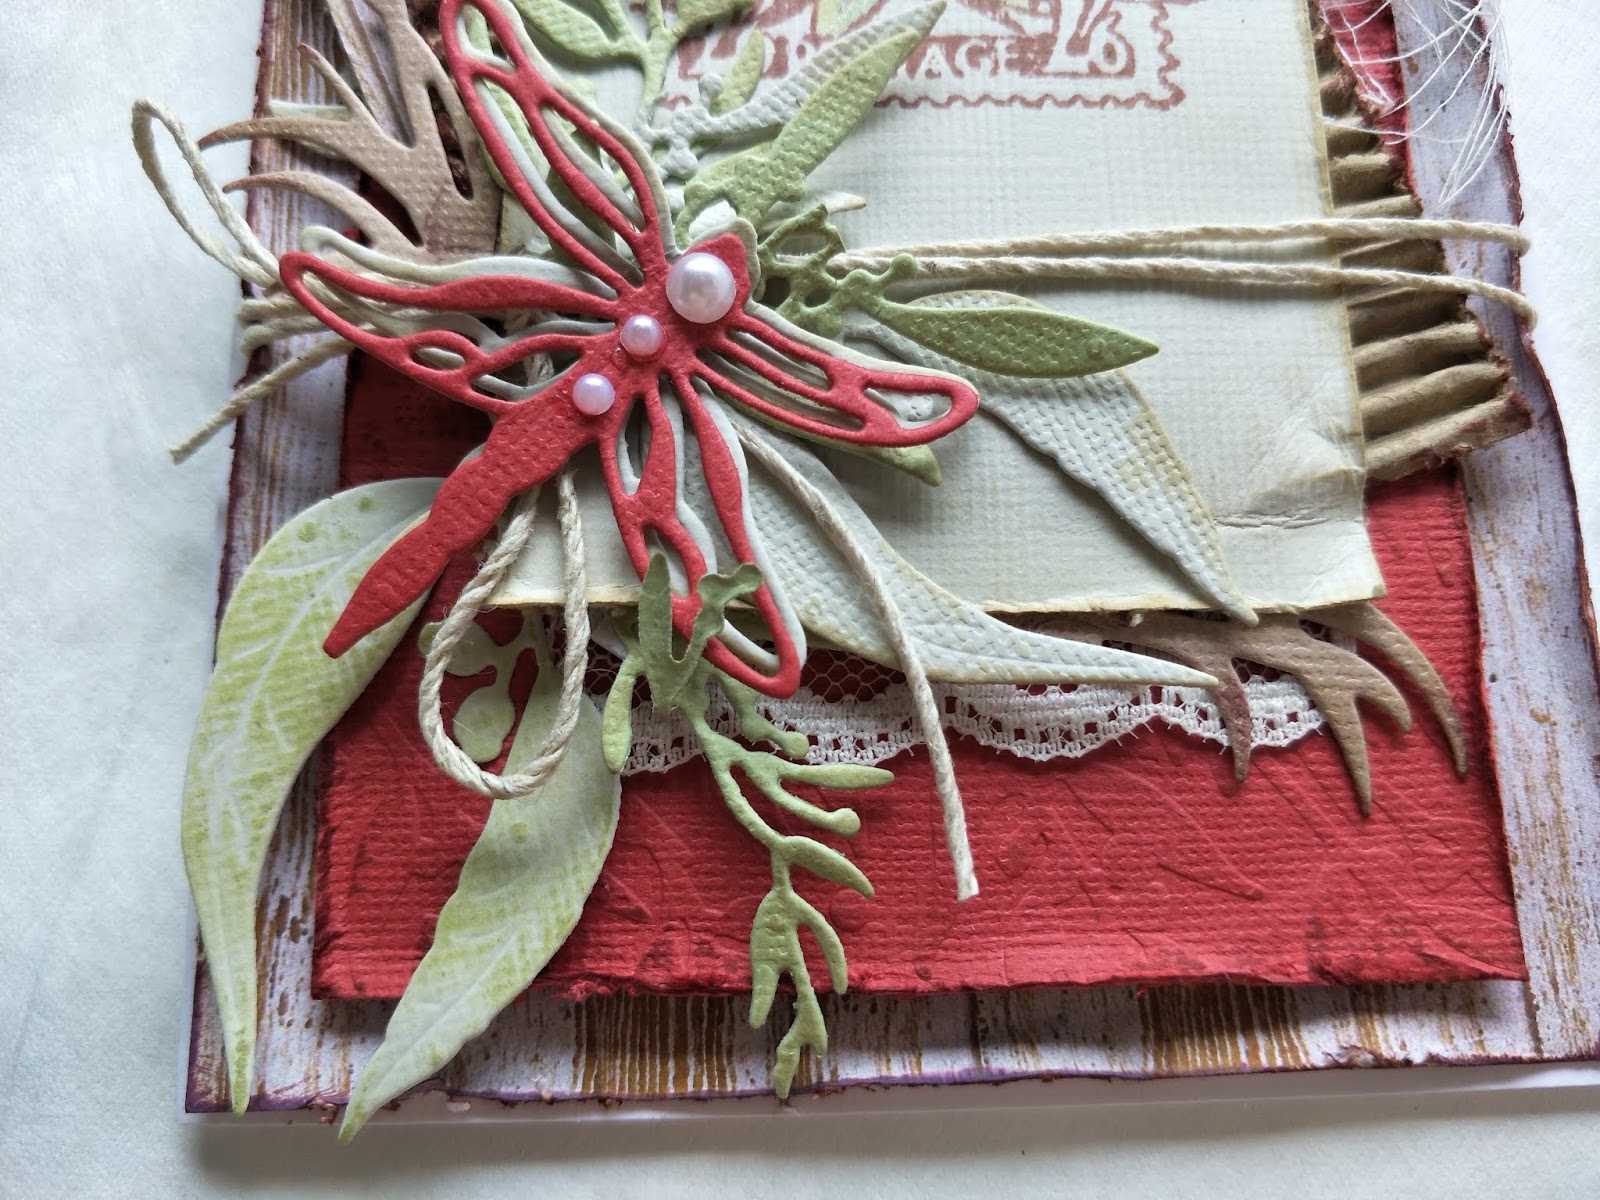
Additional items for CARD 2 - Camelia
CO727728 Vintage Flowers - Layered Camelia Cut & Create Die
CO727790 New Adventures - Olive Branch Cut & Create Die
CO728159 Cotton Watercolour Paper - 300gsm
CO727958 Alcohol Ink - Fluro Green
CO727959 Alcohol Ink - Fluro Blue
CO727965 Alcohol Ink - Fluro Purple
CO727665 Alcohol Ink - Glitter Accents - Graphite
CO727666 Alcohol Ink - Glitter Accents - Angelic
Ribbon and foam squares
Additional items for CARD 3 - Zinnia
CO727725 Vintage Flowers - Layered Zinnia Cut & Create Die
CO727859 Alcohol Ink Blower
CO727954 Alcohol Ink - Fluro - Burnt Orange
CO727956 Alcohol Ink - Fluro - Orange
CO727957 Alcohol Ink - Fluro - White
CO727665 Alcohol Ink - Glitter Accents - Graphite
CO727666 Alcohol Ink - Glitter Accents - Angelic
CO721982 Glitzin Glamour - Antique Silver
CO727174 Glitter Card - Lagoon Blue
ULT200062 Cardstock - Persimmon
Black card, foam squares and cardboard
I added a couple of videos:-
The first one shows how I used the alcohol inks and blower to get a spray of small dots.
To find a store near you that stock these Couture Creations products, click on the following link:-
https://couturecreations.com.au/pages/store locator
My Blog Link is:-
Thanks for joining me...